Getting started
Getting started and first-week setup
Use this article during the first week after creating a VMOTEK company. An owner or administrator should lead the setup, but advisors, technicians, purchasing and billing users must validate their own workflows before live work begins. Complete the steps in order and use test records until the acceptance checks pass.
Written by the VMOTEK Product Team · Updated August 13, 2026
01
Before day 1: gather the setup information
Collect the legal or trading company name, each shop's customer-facing identity, addresses, phone numbers, email accounts, sales-tax rules, operating hours, payment terms, labor rates, current employees, vendor list and the workflow your team expects to follow. Name a primary administrator and a backup.
- Choose one representative customer, vehicle, repair and part for the validation workflow.
- Decide whether the company operates one shop or needs Connected Operations for multiple shops and fleet workflows.
- Do not enter live payment credentials or message real customers while the team is still experimenting.
02
Day 1: confirm company identity
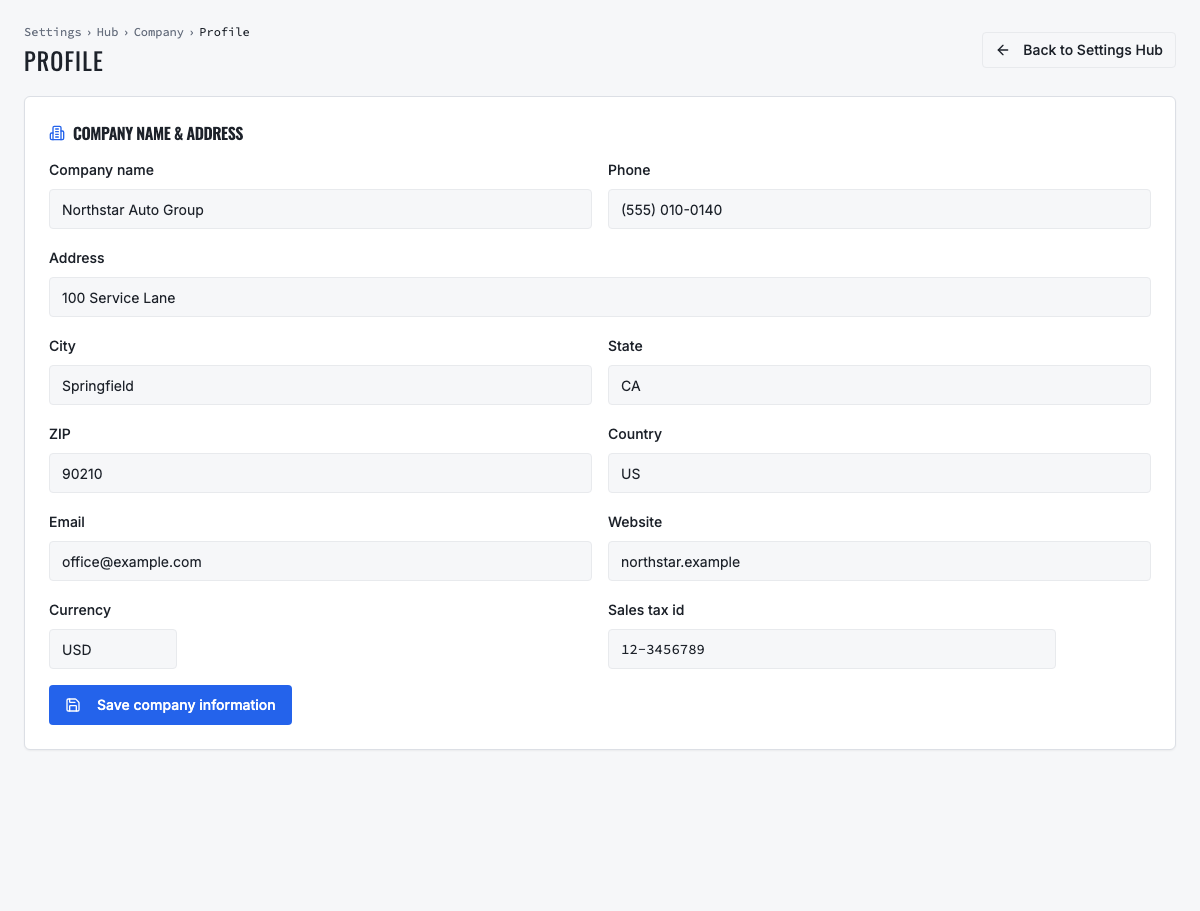
Open Company Profile and complete the organization-wide identity. Enter the company name, email, address, country and currency. Save, refresh and reopen the page to confirm the values persist. The company name in this profile should match the company identity shown in the application header.
03
Day 1: configure the primary shop
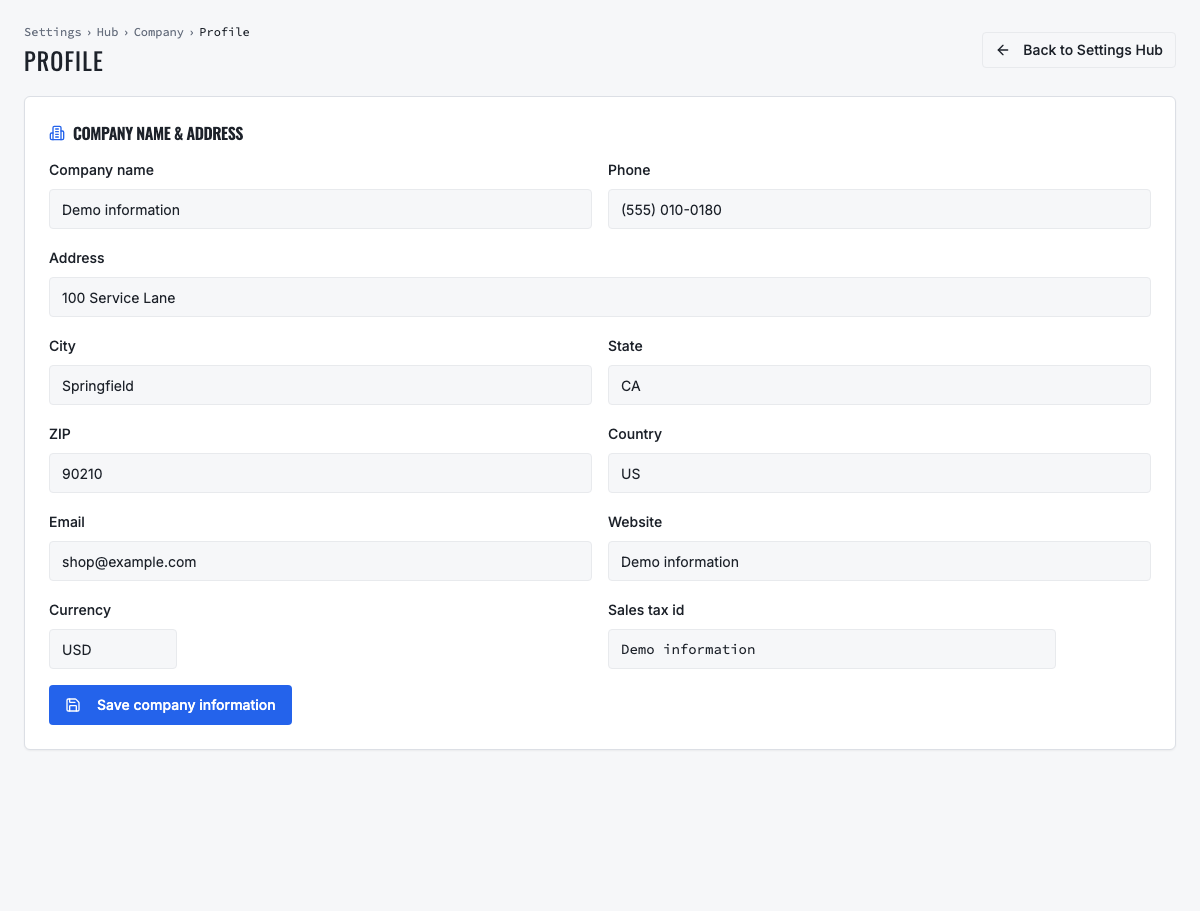
Return to Settings, select Shop and open the primary location. Enter its operating name, phone, email, street address, city, state, ZIP, country, currency and tax configuration. Company and shop are different: the company is the organization; the shop is the location serving the customer.
04
Day 2: onboard the team and restrict shop access
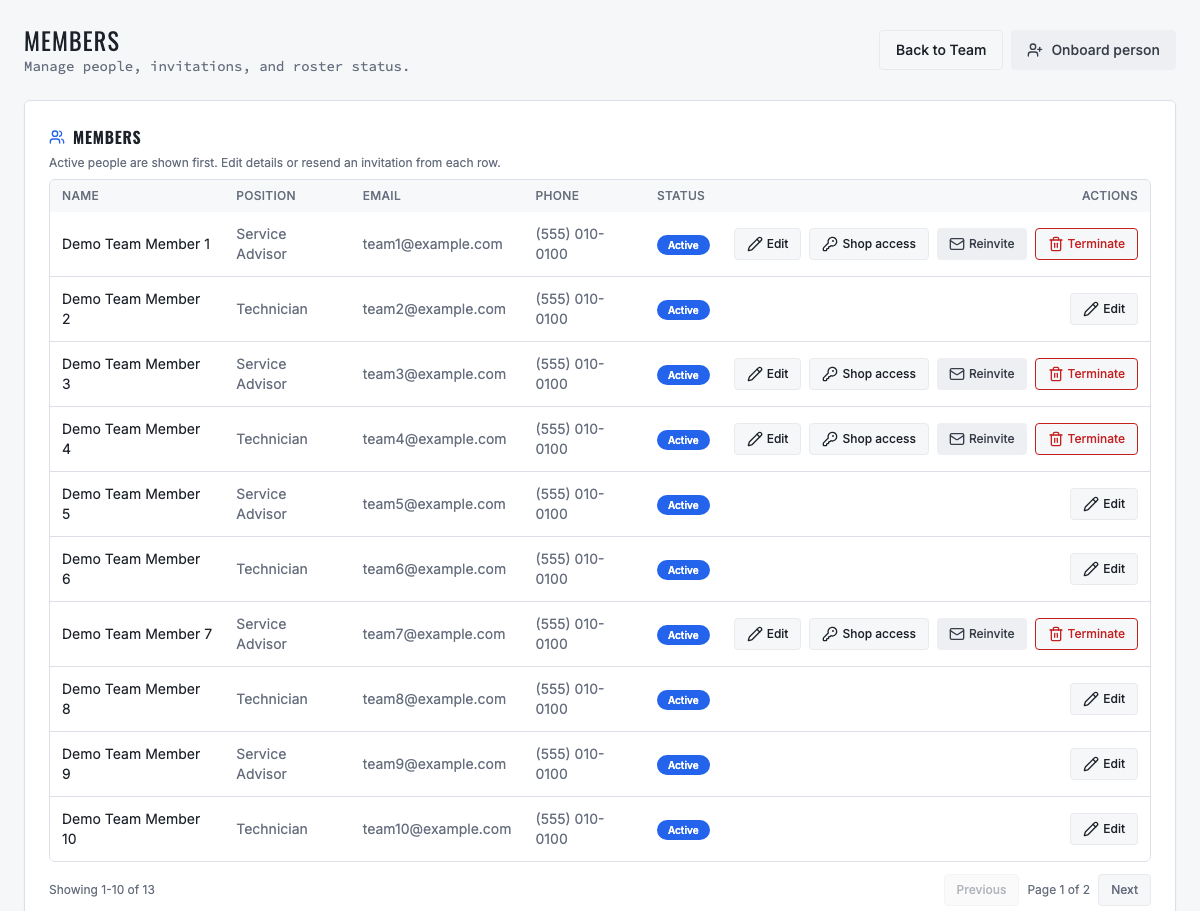
Open Team and invite each employee using an individual email address. Assign the role that matches the person's work and explicitly choose the shops they may operate. Do not share logins or give administrator rights merely to solve one missing permission.
- Owner or administrator: configuration, users, subscription and sensitive controls.
- Service advisor: customers, estimates, approvals, work orders and communication.
- Technician: assigned or claimable work, inspections, labor and repair status.
- Purchasing or receiver: vendors, purchase orders, inventory and receiving as authorized.
- Completion check: sign in with a non-admin test account and verify its menus, direct URLs and shop selector.
05
Day 3: configure work assignment and readiness
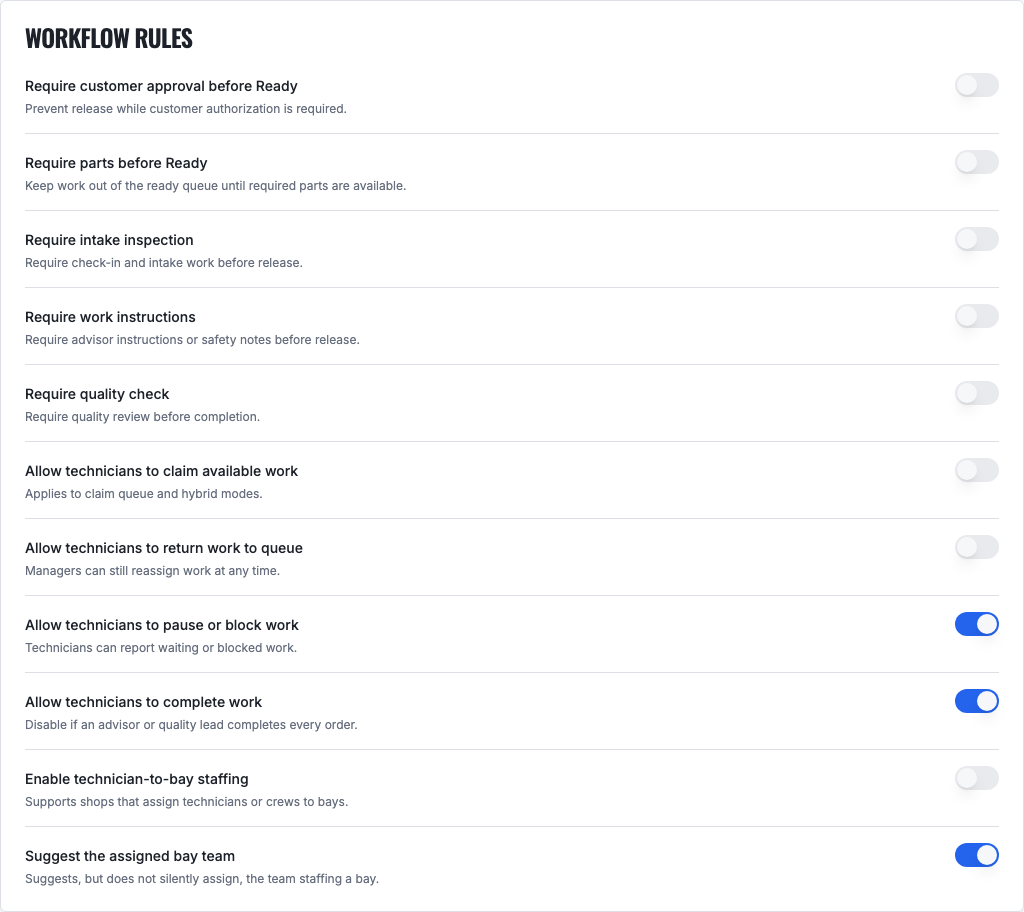
Choose whether advisors assign every job, technicians claim ready work, or the shop uses a hybrid model. Configure readiness requirements, technician actions, bay or crew behavior and actionable notifications. Explain the chosen workflow to the team before testing it.

06
Day 3: create the first customer and vehicle
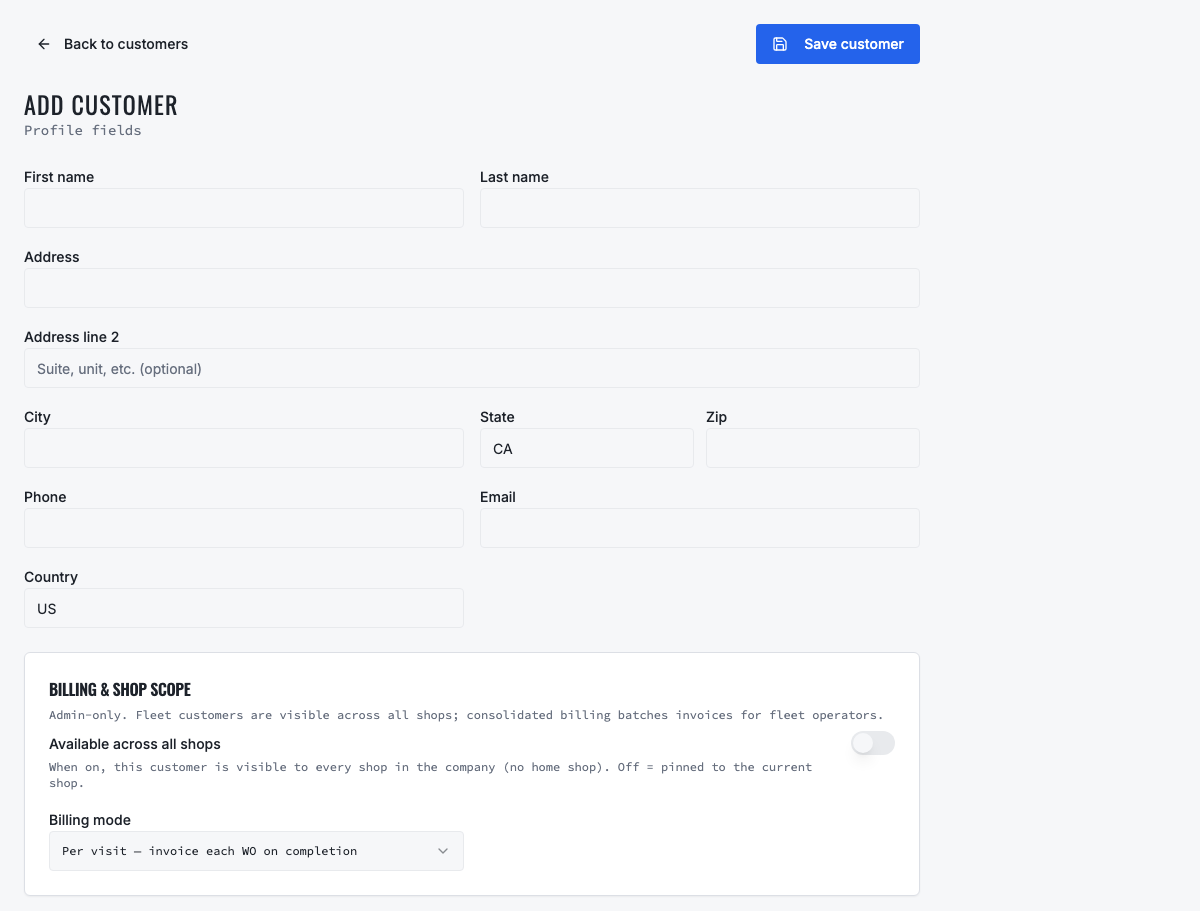
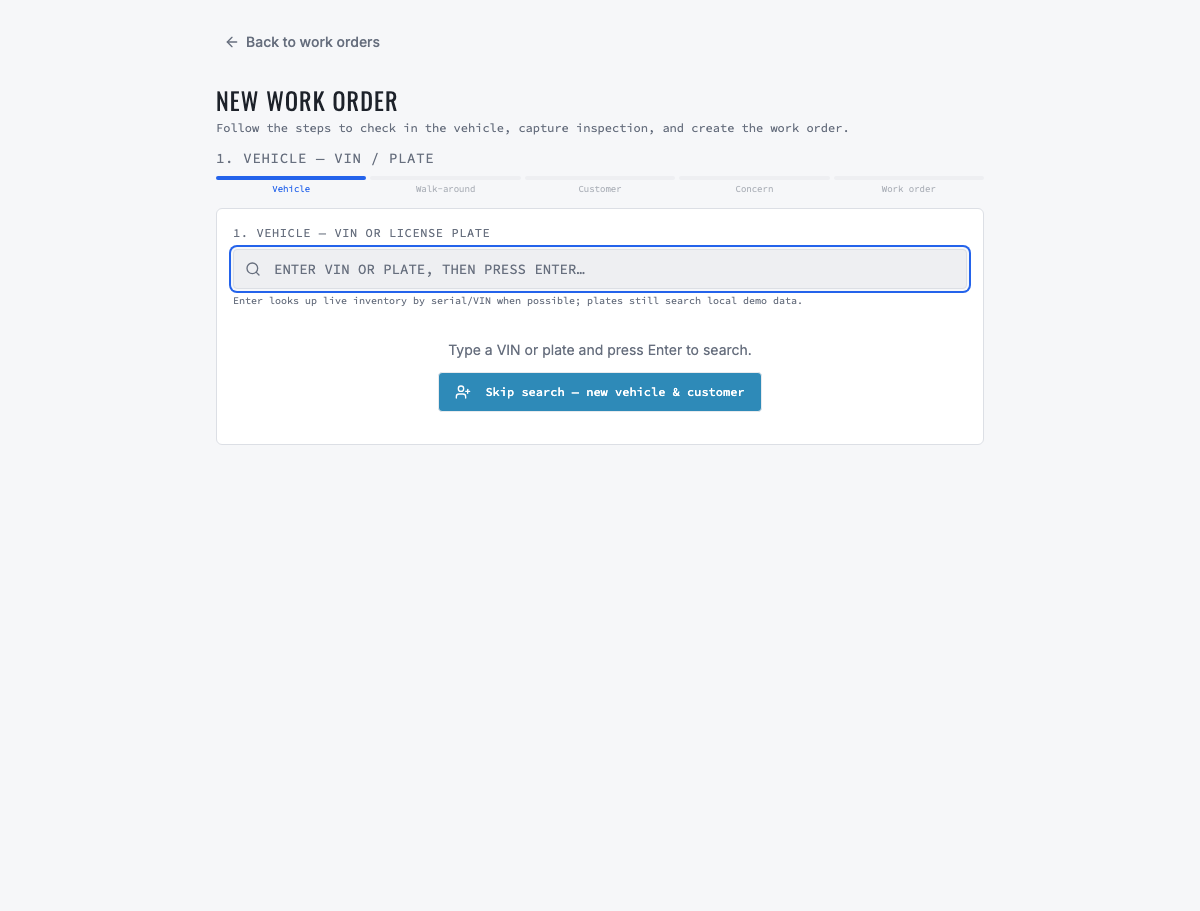
Create a test customer with a verified email or phone, default contact and address. During work-order intake, search the vehicle by VIN or plate or create a new vehicle and customer record. Verify VIN, year, make, model, plate and odometer before continuing.
07
Day 4: run the complete repair validation
Create an appointment or work order, capture the concern and walk-around, add labor and parts, create an estimate when authorization is required, send a test approval, mark the order Ready, assign or claim it, move it to In Repair and Completed, create the invoice, email it to a test address, record payment and mark the vehicle Delivered.
- Use a test email and phone that your team controls.
- Confirm the technician cannot see or claim work outside the assigned shop.
- Verify Completed remains visible and Delivered records the later customer handoff.
- Confirm approved labor and parts reach the invoice without unsupported re-entry.
08
Day 4: validate inventory and purchasing
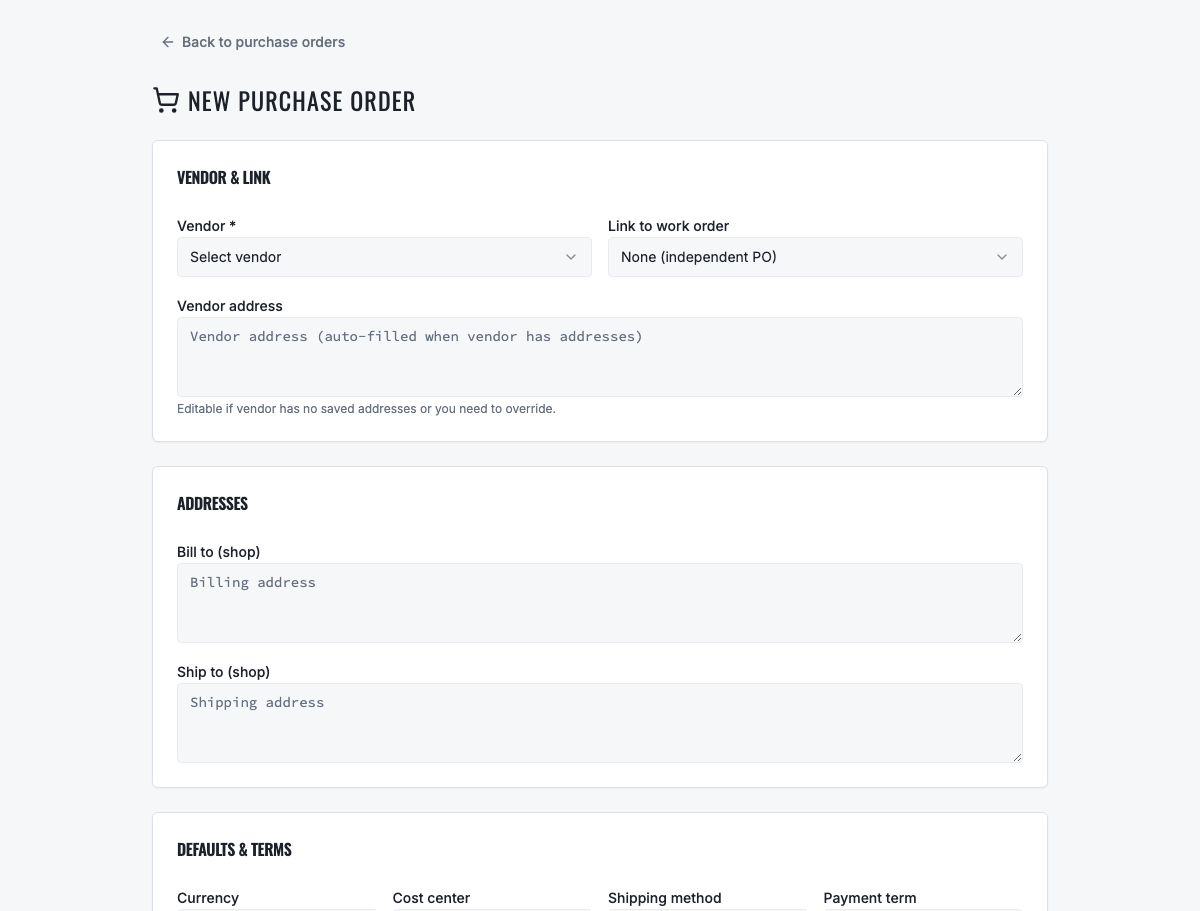
Create or import a test item, verify the current shop's available quantity, create a purchase order, approve it if required and receive it into the correct location. For Connected Operations, create a purchase request and verify approval and consolidation into a PO.
09
Day 5: connect only the integrations needed for launch
Connect Gmail, Stripe, Twilio or QuickBooks Online one at a time using approved business accounts. Run one controlled test and verify the result in VMOTEK and the provider. Keep optional integrations disabled until an owner, test case and support process exist.
10
Day 5: go-live readiness review
Meet with each role and review the validation evidence. Publish the cutover time, support contact, known exceptions and escalation path. Stop parallel spreadsheet entry after acceptance unless a temporary exception is documented with an owner and end date.
- Company and shop identity persist after refresh.
- Each employee has correct role and location access.
- One repair completes from intake through delivery.
- One purchase is received into correct inventory.
- Required messages, payments and accounting handoffs were tested.
- The team knows who owns unresolved setup issues.
11
Troubleshooting the first week
A 403 usually indicates role or shop access; verify both before changing code or data. Missing shop options usually mean the employee lacks explicit shop membership. An empty list may reflect the active shop selector or status filter. If a save appears to revert, refresh and inspect the authoritative profile before repeating the change. Contact support with the page, time, user role, shop, action and visible error, never include passwords or secret keys.
Related product areas
Understand the capability behind the task
Continue to the applicable platform page for workflow behavior, role differences and connected operating consequences.
Ready to move forward?
Need help with your configuration?
Existing customers should use in-product support for account-aware assistance. Evaluation teams can contact us to discuss requirements.