Getting started
Set up VMOTEK and complete your first service workflow
Use this guide after creating your VMOTEK account. Complete the steps in order to establish the information your team needs, then take one customer from appointment through purchasing and repair work. Menu names can vary slightly by role and subscription.
Written by the VMOTEK Product Team · Product reviewed August 13, 2026
01
1. Confirm your company and primary shop profile
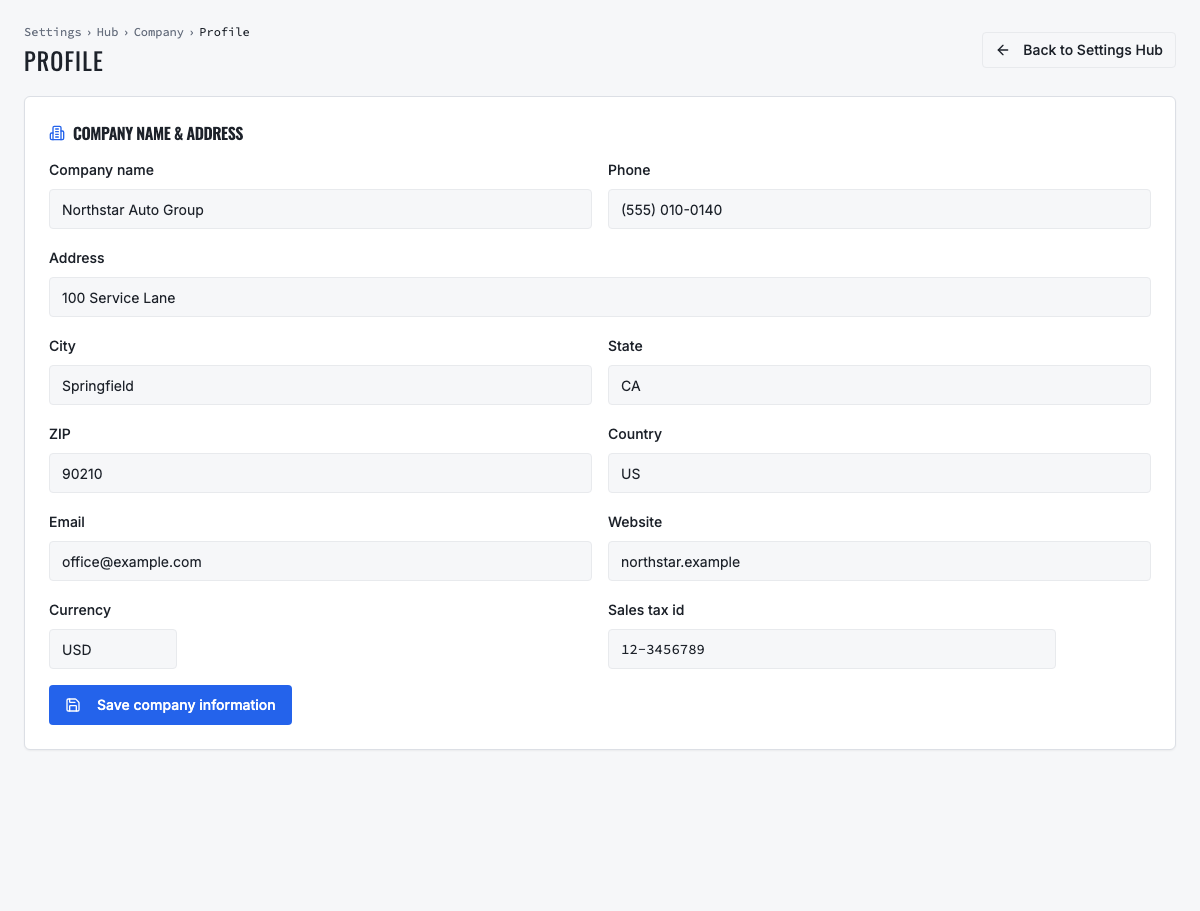
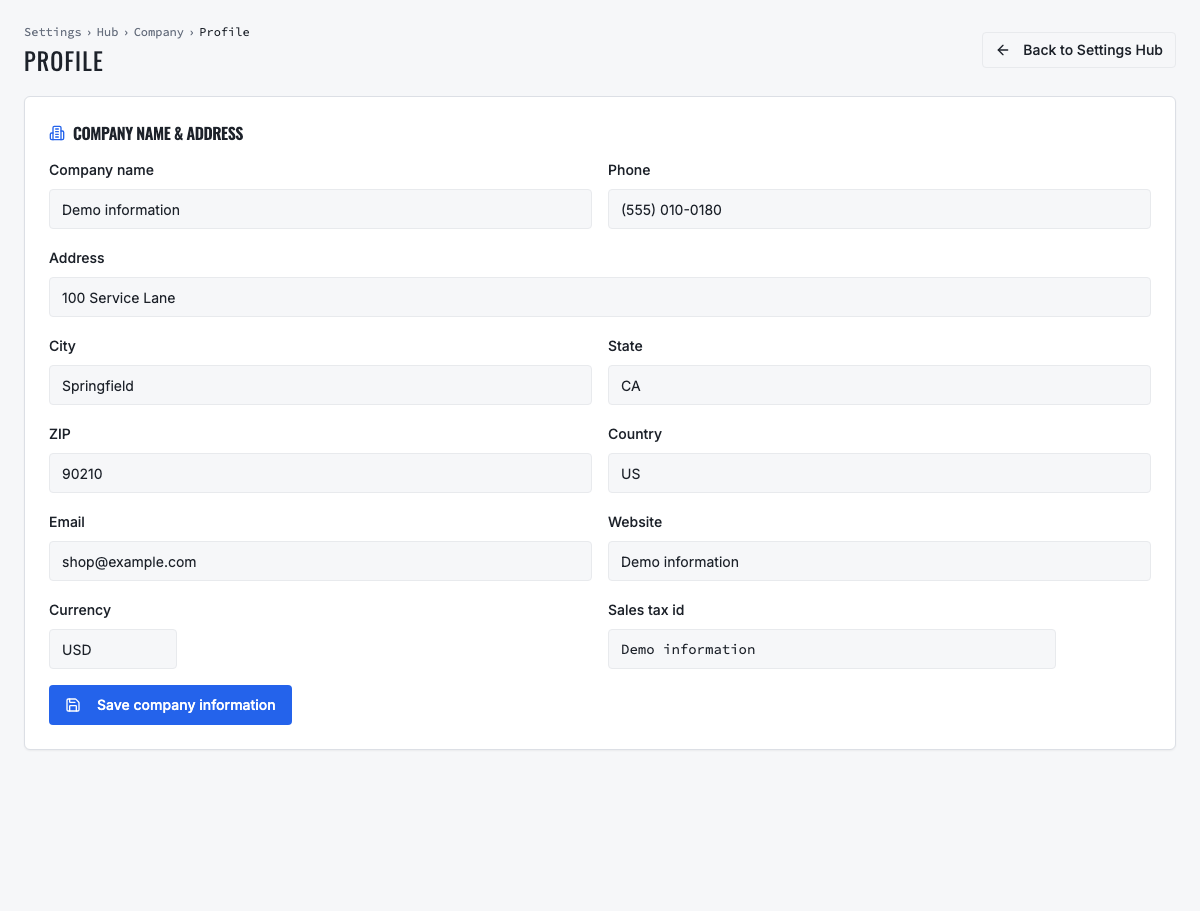
Start with the information that identifies your business and appears throughout VMOTEK. Open Settings from the gear icon, choose Company, and review Company Profile. Save the legal or trading name, email and company address. Return to the Settings Hub, choose Shop, select your primary location and confirm its shop name, phone, email, address, currency and sales-tax settings.
- Use the company profile for organization-wide identity and the shop profile for the location customers visit.
- Confirm the shop address before adding more locations; it can be used on estimates, work orders and invoices.
- Review document and email settings if you want customer-facing documents to use a logo, terms or a connected Gmail account.
- For multiple locations, add and configure each shop separately after the primary shop is correct.
- Completion check: company identity and primary-shop identity remain correct after refreshing the page.
02
2. Add your team and assign their roles
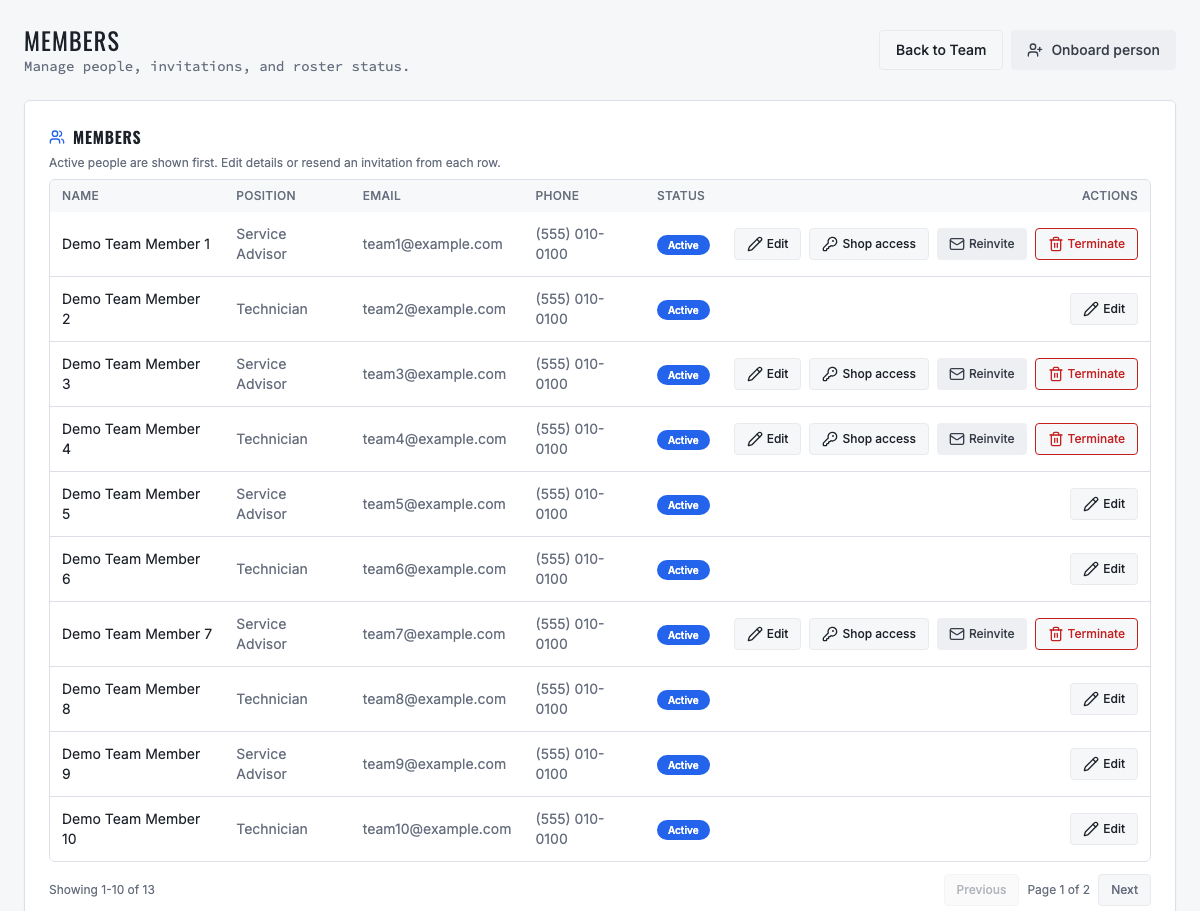
Open Team from the main navigation and choose Add team member. Enter the person’s name and email, associate the correct shop or shops, and assign a role that matches the work they perform. The invitation lets the team member establish access without sharing another employee’s login.
- Use administrator access only for people who manage company settings, users, billing or integrations.
- Assign service-advisor, technician, purchasing or other operational access according to responsibility.
- For a multi-shop company, confirm which locations the employee may see and operate.
- After sending the invitation, verify its status in the roster and resend it if necessary.
- Completion check: sign in as a test team member and verify their menu, shop access and permitted actions.
03
3. Add your first customer and vehicle
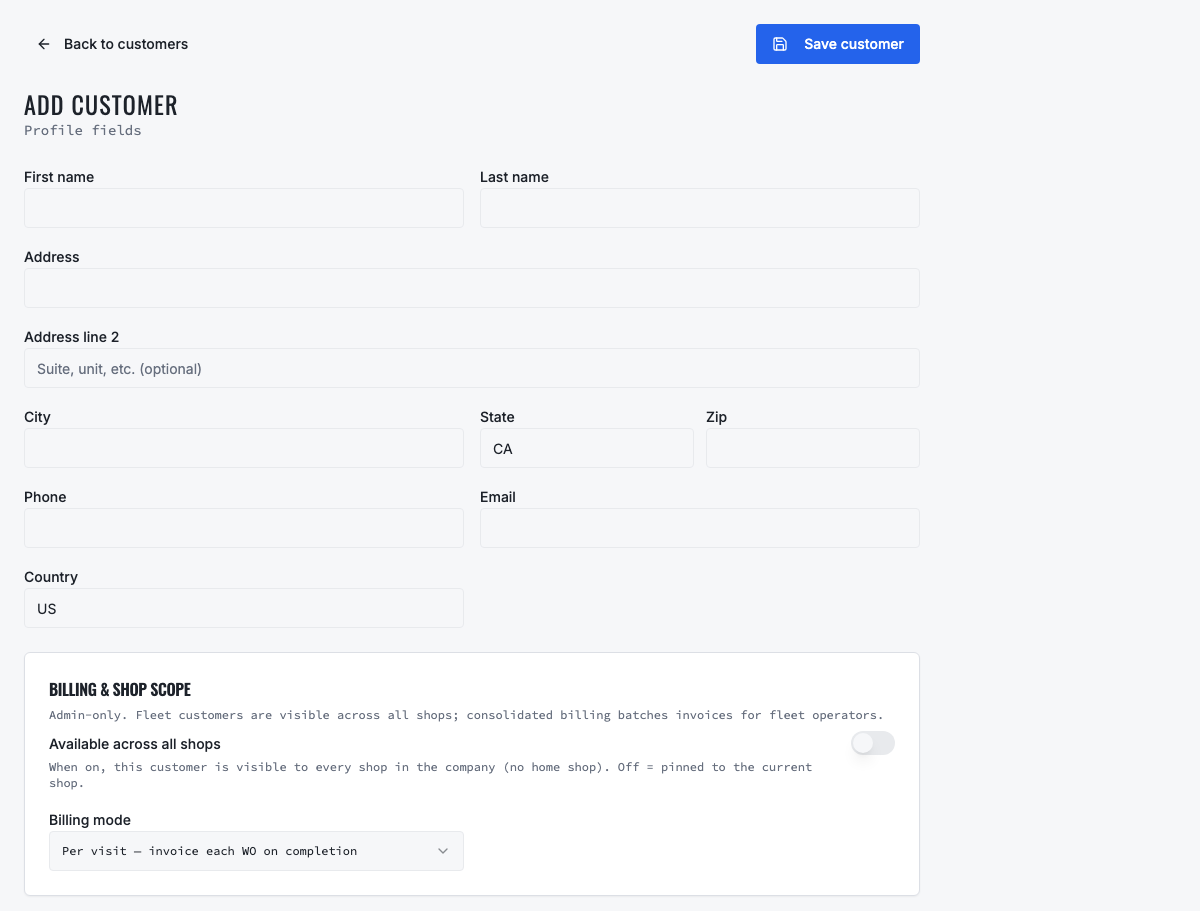
Open Customers, select New Customer, and enter the customer’s name plus at least one useful contact method. Save the customer, open the new customer record and add a vehicle. Record the VIN when available, along with year, make, model, license plate and current odometer. Keeping the vehicle attached to the correct customer lets future appointments, estimates, work orders and service history stay connected.
- Mark the preferred or default contact so advisors know where to send approvals and updates.
- Obtain and record SMS consent before sending text messages.
- For a commercial fleet, use fleet contacts and portal access only for the people who should see that account.
- Check the VIN, unit number and odometer carefully because maintenance and service history depend on them.
- Completion check: search by customer, VIN or vehicle and confirm the same connected record is returned.
04
4. Create an appointment, estimate or work order
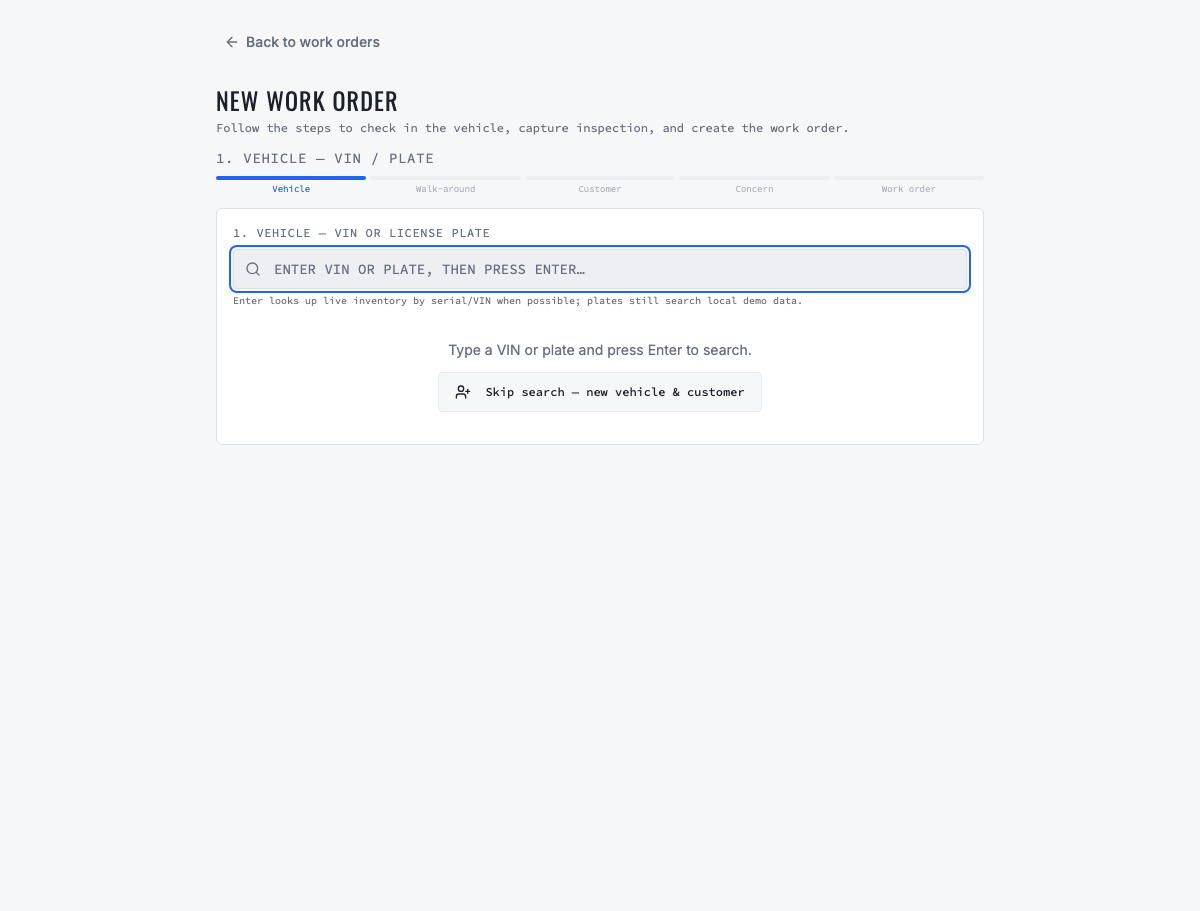
Choose the entry point that matches the customer interaction. Use Appointments when work is scheduled for later, Estimates when the customer needs a price before authorizing work, or Work Orders when the vehicle is ready to enter the active shop workflow. Select the customer, vehicle, shop and service details, then save the record.
- Appointment: choose date, time, expected duration and the appropriate technician or bay when known.
- Estimate: add labor, parts, fees and taxes, review the total, and send it to the customer for a decision.
- Work order: record the concern, assign the work, apply an inspection or service menu, and update status as the repair progresses.
- If an estimate is approved, continue from that record so authorized lines and customer history remain connected.
- Review the final charges before creating the invoice and collecting payment.
- Completion check: one test order can move from Open through Delivered while retaining its labor, parts, technician and invoice links.
05
5. Explore inventory, vendors and purchase orders
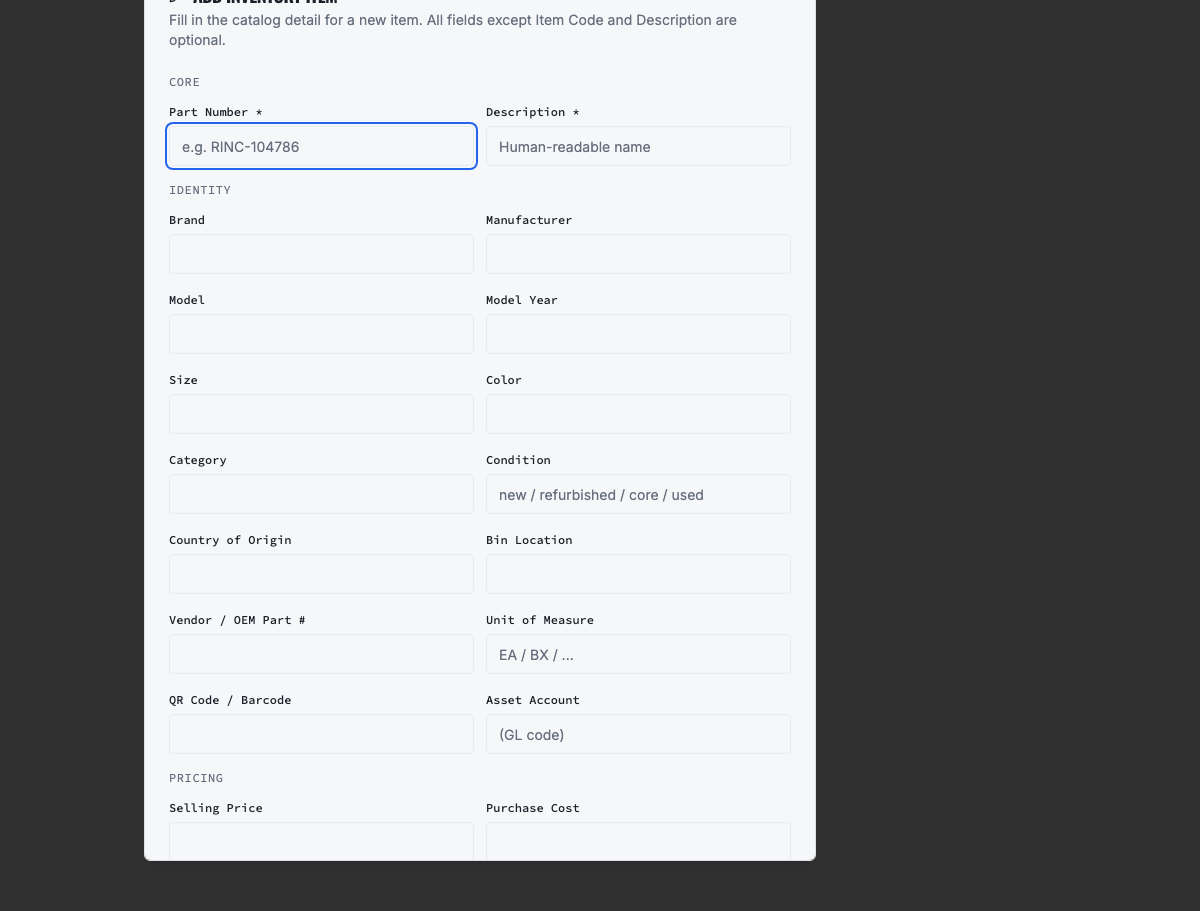
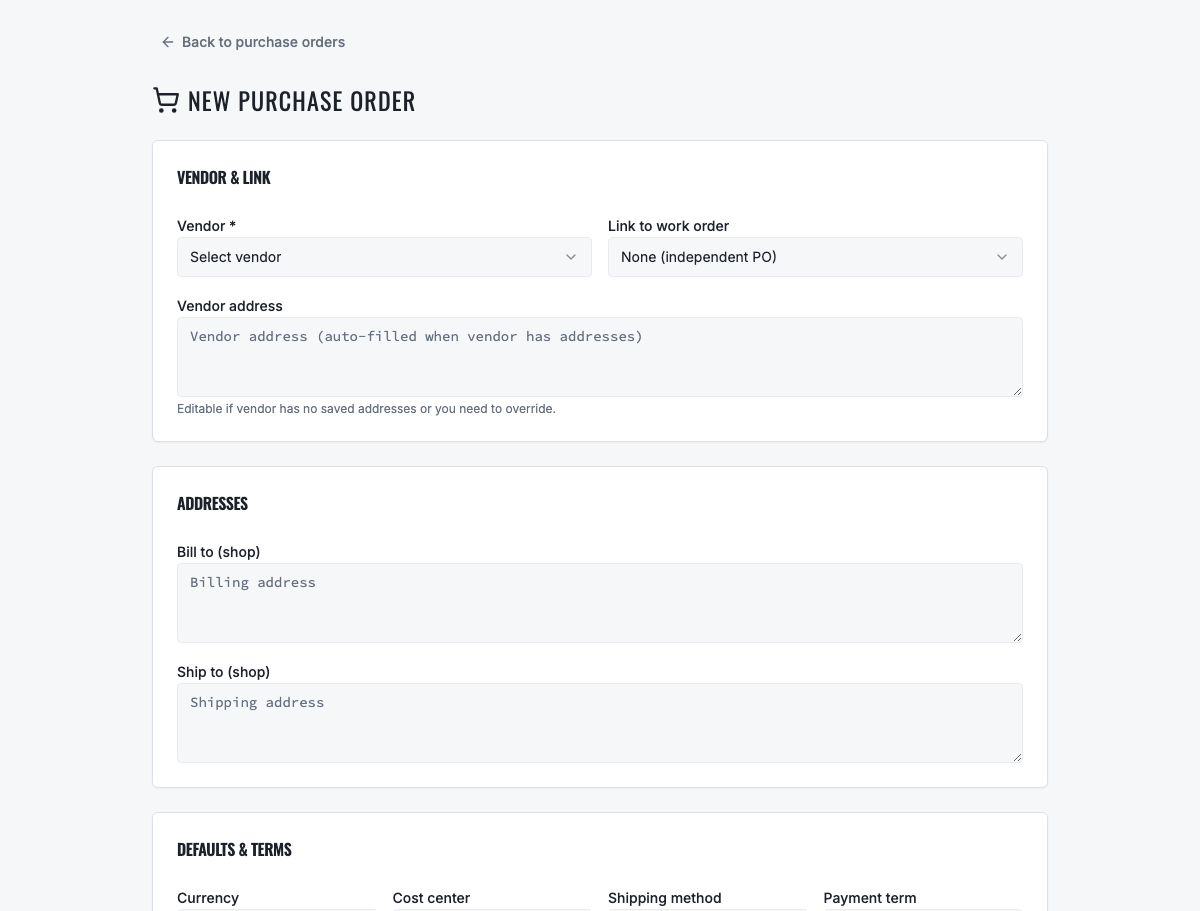
Open Inventory to review stock for the current shop and create the parts you want to track. Open Vendors to add supplier contact and ordering information. When parts are required, open Purchase Orders, create an order for the vendor and delivery shop, add item quantities and costs, and submit it through your approval process when one is configured.
- Set part numbers, descriptions, costs, selling prices, on-hand quantities and reorder levels consistently.
- Use vendor catalogs and price history to compare sourcing options when that data is available.
- Keep the purchase order tied to its destination shop so receiving updates the correct inventory location.
- Record partial and complete receipts instead of increasing stock manually; this preserves purchasing history and accountability.
- In connected operations, review network availability and transfers before placing an unnecessary urgent order.
- Completion check: the test PO can be approved when required, partially or fully received, and traced to the correct shop stock.
06
Your first-day completion check
You are ready for daily use when the company and shop identity are accurate, each employee has individual access, a customer and vehicle are connected, one service record can be followed through the workflow, and a test purchase order can be received into the correct location. Use test records first if you are still learning, and contact VMOTEK Support if a permission or configuration prevents a step.
Related VMOTEK workflows
Continue from the guide into the product
Use the capability pages for operating behavior, role differences, related guides, pricing and a product walkthrough.
Ready to move forward?
See the workflow in VMOTEK
Bring your current process and we will demonstrate where the platform fits, what changes, and what it does not yet support.