Template
Digital inspection template starter set
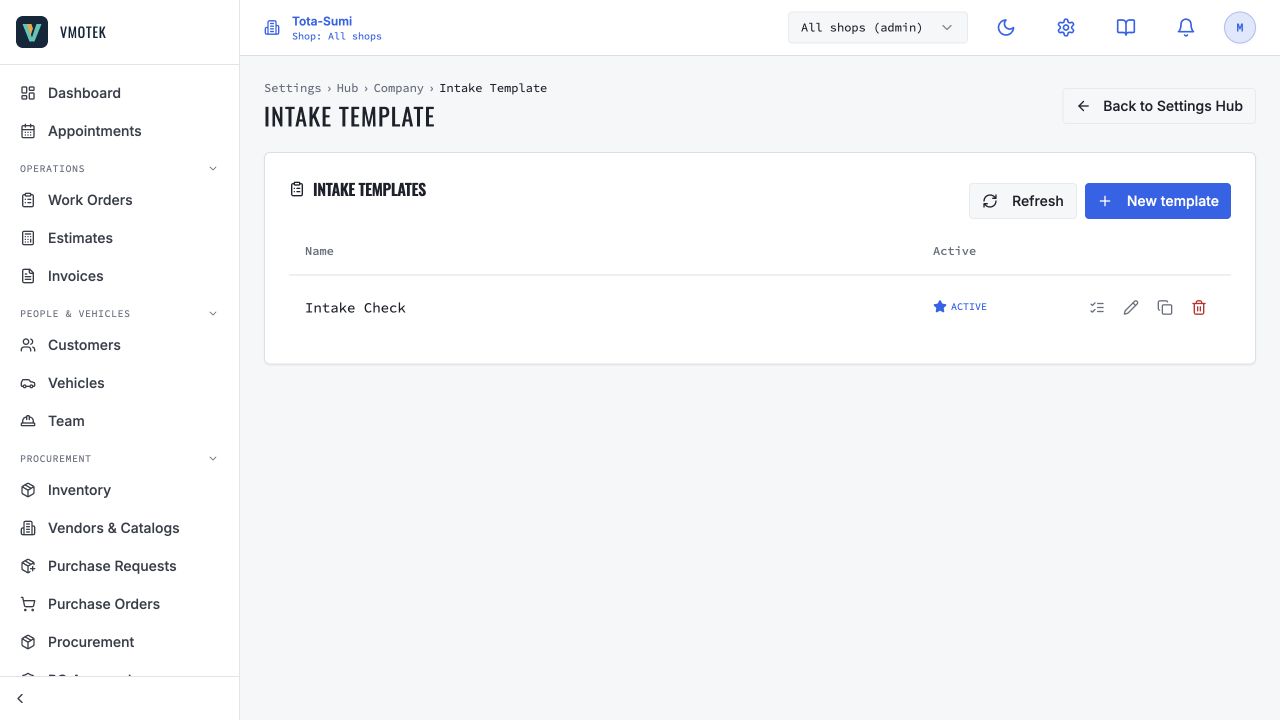
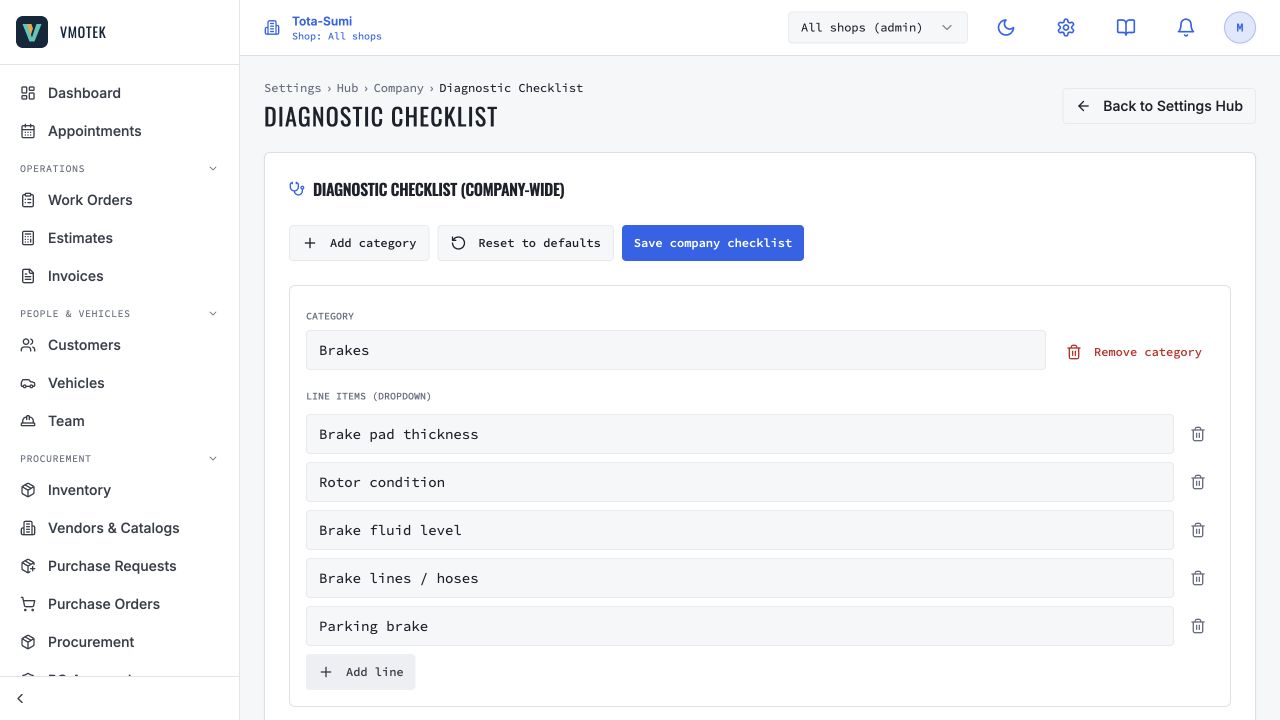
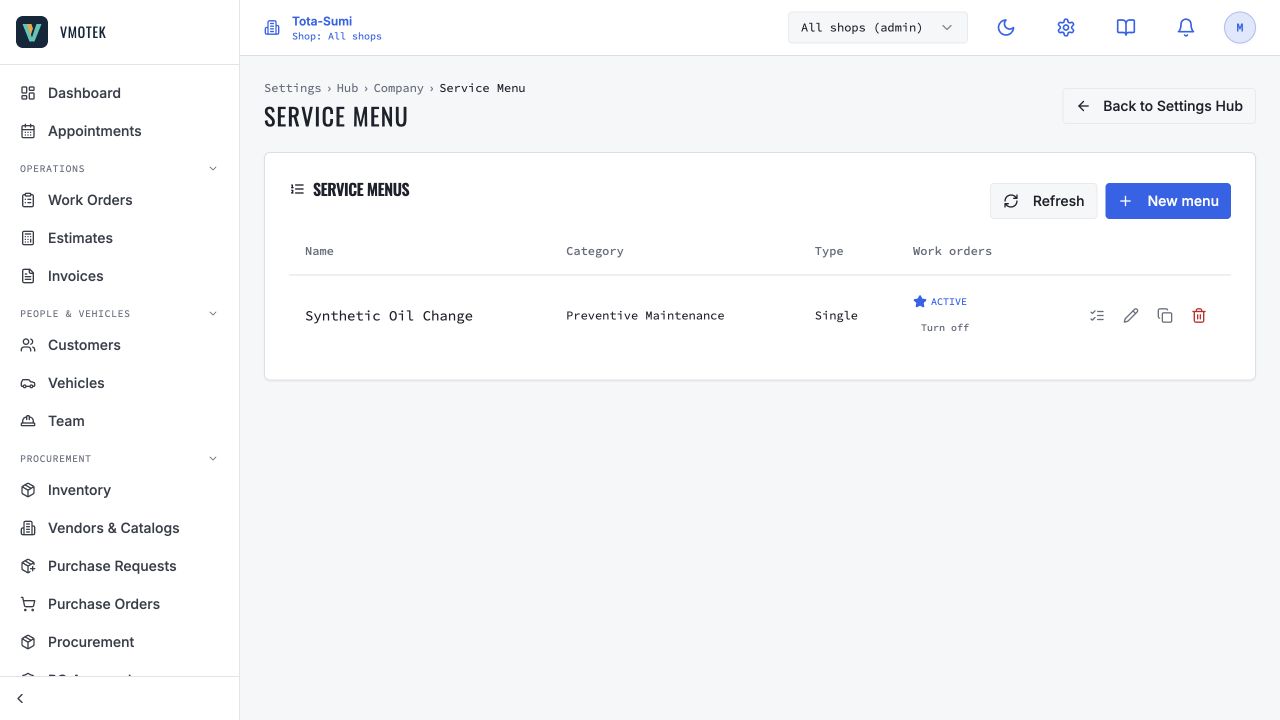
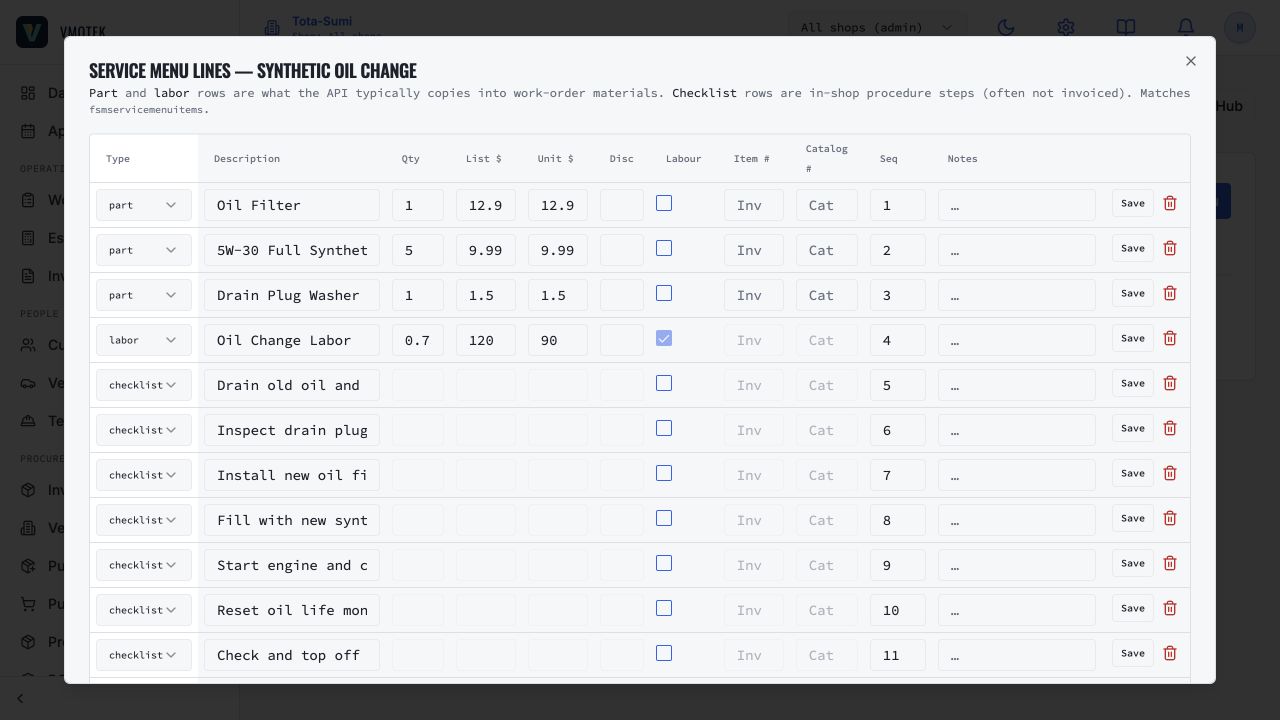
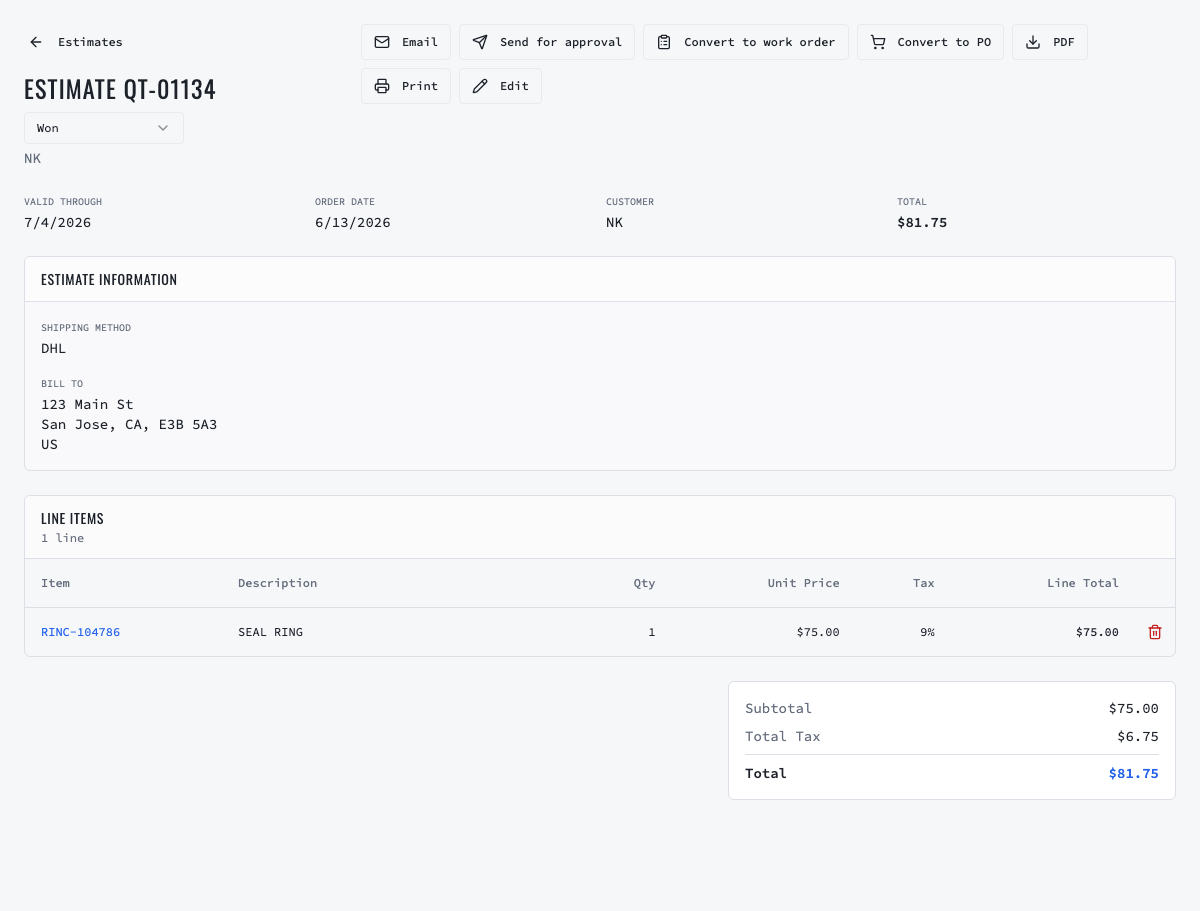
Use this starter as an operating template, not as a universal safety standard. Adapt it to the vehicles, services, regulations, technician qualifications and equipment in your shop. In VMOTEK, use Intake Template for check-in and walk-around condition, Diagnostic Checklist for technician findings, Service Menu for reusable repair packages and Estimate for the priced customer proposal.
Written by the VMOTEK Product Team · Product reviewed August 13, 2026
01
1. Define four result states before building questions
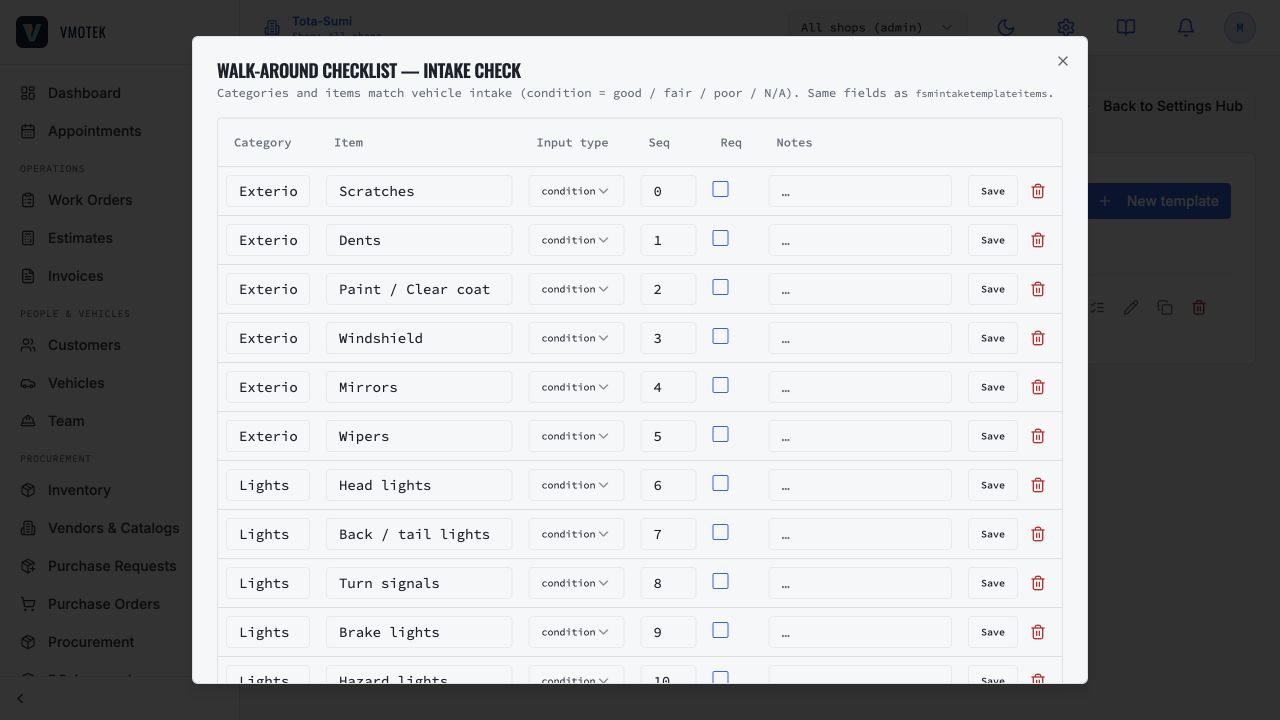
Every condition item should use VMOTEK's four controlled states. Publish the definitions in technician training so two people looking at the same condition reach a comparable result. Regulatory, manufacturer or documented shop limits override this general template.
- Good, inspected and acceptable at the time of inspection; no current recommendation.
- Fair, usable now, but maintenance, monitoring or future repair should be discussed.
- Poor, below the shop's documented service or safety threshold; recommend corrective action or further diagnosis now.
- N/A, not applicable or not inspected. Require a reason when access, equipment or authorization prevented inspection.
02
2. Inspection header and vehicle verification
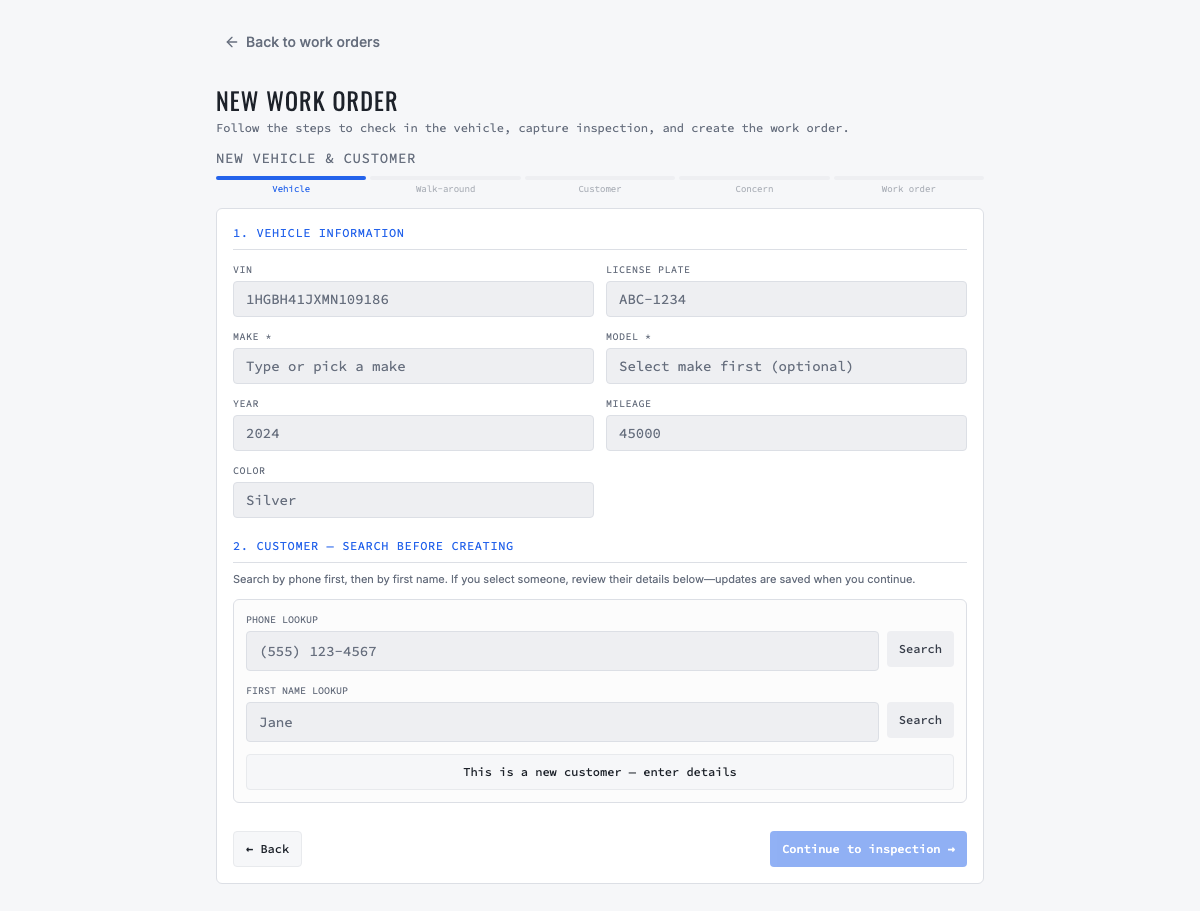
Record the information needed to prove which vehicle was inspected and under what conditions. Prefill known data from the customer and vehicle record, then make the technician verify what matters at intake.
- Customer or fleet account and authorized contact.
- Vehicle year, make, model, VIN, plate and fleet unit number when applicable.
- Odometer or operating hours, fuel or charge level and dashboard warning indicators.
- Inspection date, shop, technician, work-order number and stated customer concern.
- Road-test authorization and any access limitation noted before inspection.
03
3. Exterior walk-around and intake condition
Capture pre-existing exterior condition before moving the vehicle into active repair. This section is for intake evidence and obvious safety observations, not a body-shop damage estimate unless that service is in scope.
- Front, rear, driver-side and passenger-side overview photos when required by shop policy.
- Existing dents, scratches, broken glass, missing trim, warning lamps or visible leaks.
- License plate and VIN confirmation where appropriate.
- Personal-property, aftermarket-equipment or access notes relevant to safe service.
04
4. Tires and wheels
Record measurements by wheel position rather than one result for the vehicle. Configure the unit used by your shop and the legal or company thresholds that apply.
- Tread depth: LF ___, RF ___, LR ___, RR ___; include spare when applicable.
- Tire pressure measured and specification; note TPMS warning or sensor concern.
- Uneven wear, cuts, bulges, punctures, exposed cord, age or date-code concern.
- Wheel or rim damage, missing or damaged fasteners and visible alignment indicators.
- Recommendation examples: rotate, repair puncture, align, replace pair or replace set with reason.
05
5. Brakes
Use actual measurements when accessible and within the authorized inspection scope. Avoid a single Good result that hides meaningful left-to-right or front-to-rear variation.
- Friction material: LF ___, RF ___, LR ___, RR ___ with the shop's unit and threshold.
- Rotor or drum condition and measurement when performed; record specification source.
- Hydraulic leaks, hose condition, parking-brake operation and warning indicators.
- Noise, vibration or pull observed during authorized road test.
- Recommendation, urgency and evidence supporting service now versus future monitoring.
06
6. Steering, suspension and underbody
Inspect only the components and checks appropriate to the lift condition, vehicle and technician qualification. Record the component, location and observable condition rather than using vague text such as suspension bad.
- Steering linkage, tie rods, ball joints, control arms, bushings and wheel bearings.
- Shocks, struts, springs, mounts and signs of leakage or damage.
- CV boots, driveshaft or driveline components within scope.
- Exhaust damage, leaks or loose components; underbody damage and significant fluid leaks.
- Alignment indicators and road-test symptoms requiring further diagnosis.
07
7. Underhood, fluids and battery
Separate level, condition and leak observations. A fluid can have an acceptable level while its condition or surrounding leak requires attention.
- Engine oil, coolant, brake fluid, power steering and other serviceable fluids applicable to the vehicle.
- Belts, visible hoses, clamps, air filter and accessible intake components.
- Battery terminals, hold-down and visible condition; measured voltage, conductance or test result when performed.
- Visible leaks, contamination or evidence requiring diagnosis rather than an immediate parts recommendation.
- Hybrid or EV items only when the shop, technician and inspection process are qualified for them.
08
8. Lighting, visibility and cabin safety
Group quick functional checks that matter to safe operation and customer experience. Record left or right position for failures so the estimate line is unambiguous.
- Headlamps, high beams, turn signals, hazard lamps, brake lamps, reverse lamps and plate lamps.
- Windshield condition, mirrors, wipers and washer operation.
- Horn, seat belts and dashboard warning indicators within inspection scope.
- HVAC or defrost operation when included in the service package.
09
9. Road-test summary
Perform a road test only with authorization and when conditions allow. Record route or duration according to policy, observed symptoms and whether the original complaint was verified. Use N/A with a reason when weather, registration, safety condition or authorization prevents the test.
- Starting, idle, acceleration and transmission behavior observed.
- Steering response, pull, vibration and abnormal noise.
- Brake feel, stopping behavior and warning indicators.
- Complaint verified, not verified or further diagnosis required.
10
10. Evidence rules that technicians can follow
Require evidence when it changes the decision or helps the customer understand an otherwise invisible condition. Do not force photos for every Good result; unnecessary capture slows the inspection and produces low-value galleries.
- Poor: require a clear note and a measurement or photo when reasonably obtainable.
- Fair: require the condition, expected follow-up and supporting measurement where applicable.
- N/A: require the reason when another visit, access or authorization may be needed.
- Photo: frame the component, provide enough context to locate it and avoid unrelated personal information.
- Measurement: include unit, wheel or component position and comparison threshold.
11
11. Customer-facing recommendation format
Convert inspection findings into plain-language recommendations using the same four-part pattern. This structure can feed the estimate without requiring the advisor to reinterpret incomplete technician shorthand.
- Condition, what was observed or measured.
- Consequence, why it matters and what may happen if delayed.
- Recommendation, the service or diagnosis proposed.
- Priority, service now, schedule soon or monitor at the next interval.
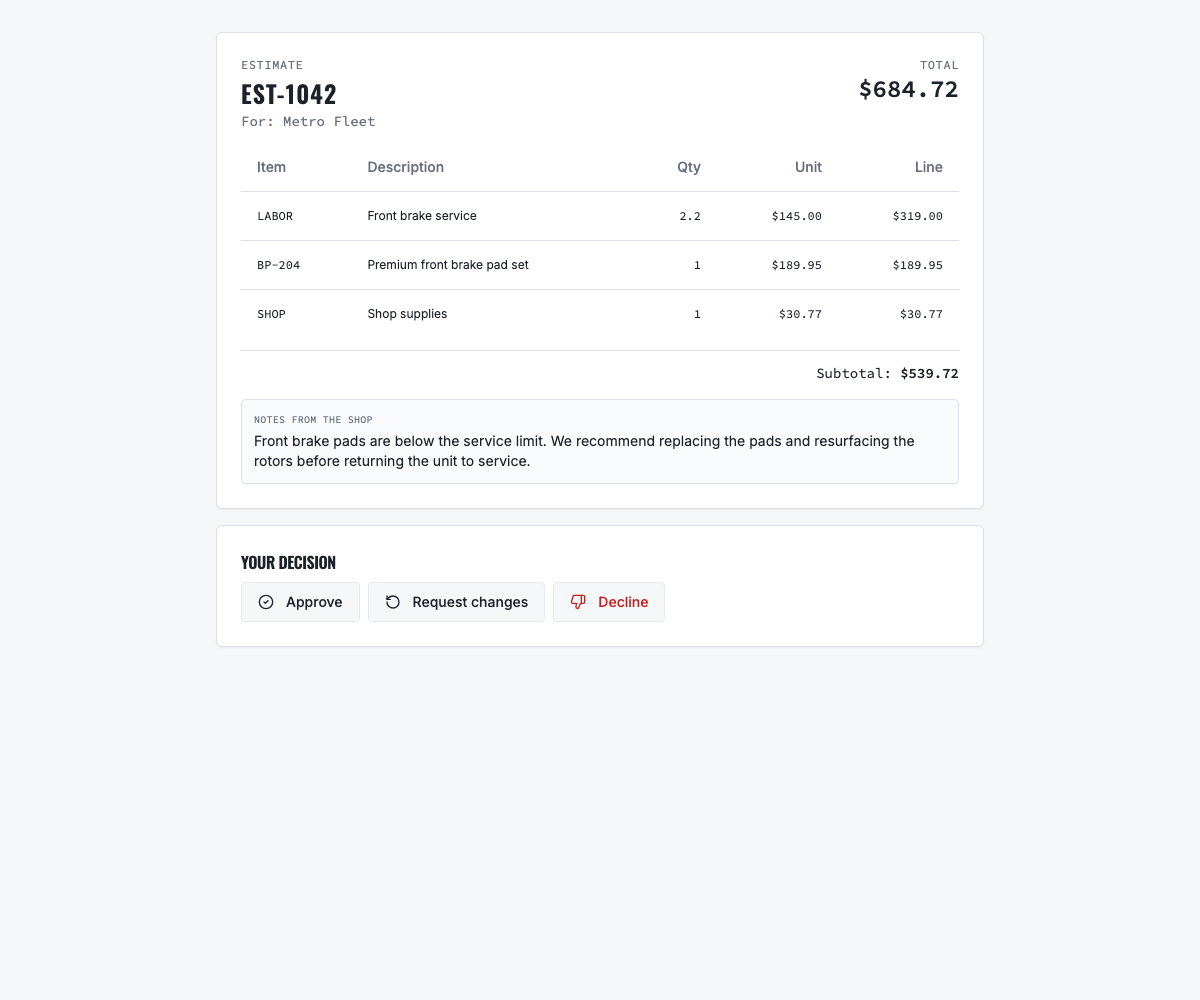
- Example: Front pads measure 2 mm, below our 3 mm service threshold. Continued use may reduce braking performance and damage the rotors. Recommend front brake service now.
12
12. Connect findings to estimate and approval
A Fair or Poor finding can be marked Recommended and supplemented with notes, photos, labor, inventory parts and estimated cost. The advisor reviews it and either accepts it internally when existing authority permits or sends the priced work for customer approval. Inspection completion is not customer authorization; the customer approves repair scope, not merely an inspection color.
13
13. Quality-control checks before release
Define what the shop verifies after approved work is completed. The technician or quality-control owner should confirm the repair, clear tools and protective materials, check warning indicators, update measurements where relevant and document the final road test or reason it was not performed.
14
14. Roll out the template with a pilot
Pilot the template with a small group of technicians and representative vehicles for two weeks. Observe completion time, skipped items, repeated free-text notes, photo usefulness, estimate conversion and customer questions. Revise ambiguous items before making the template mandatory.
- Target consistent completion, not maximum question count.
- Compare results when two qualified technicians inspect similar conditions.
- Remove checks that never influence service, safety, documentation or customer decisions.
- Add a specialized template for tires, diesel, commercial inspections or other distinct work instead of overloading one universal form.
15
15. Govern and measure the inspection program
Name a template owner, assign a version and review it on a scheduled cadence. Track average completion time, N/A rate, evidence completeness, recommendations by priority, estimate conversion, declined work follow-up and customer disputes. Treat unusual results as a coaching or template-design signal, not automatically as technician failure.
Related VMOTEK workflows
Continue from the guide into the product
Use the capability pages for operating behavior, role differences, related guides, pricing and a product walkthrough.
Ready to move forward?
See the workflow in VMOTEK
Bring your current process and we will demonstrate where the platform fits, what changes, and what it does not yet support.