Body and collision setup
Configure the Body and Collision operating template
The Body and Collision template creates an evidence-first starting point for vehicle arrival, visible damage review, controlled teardown and final quality control. It does not estimate structural repair automatically, provide OEM procedures, select paint operations or decide calibration requirements. Qualified staff must adapt every draft to the shop's equipment, certifications and documented repair process.
Written by the VMOTEK Product Team · Updated August 14, 2026
01
1. Preview the collision setup
Choose Body and collision shop for the intended location. Confirm that Collision damage intake, Collision damage assessment, Collision teardown and damage review, and Collision reassembly and quality control are drafts. Body repair work area is only a recommendation. Applying records the template and creates reviewable drafts; it does not create a frame rack, paint booth, detail area or production capacity that the shop does not physically have.
- Select the collision location in the top header.
- After registration, select Settings → Setup & Readiness → Operating templates; during onboarding, use Choose how each shop operates.
- Choose Body and collision shop → Preview and verify the proposed drafts and work-area recommendation.
- Select Create missing drafts (or Create drafts & continue during onboarding); leave every unreviewed intake, checklist and package in Draft.
02
2. Configure arrival and damage evidence
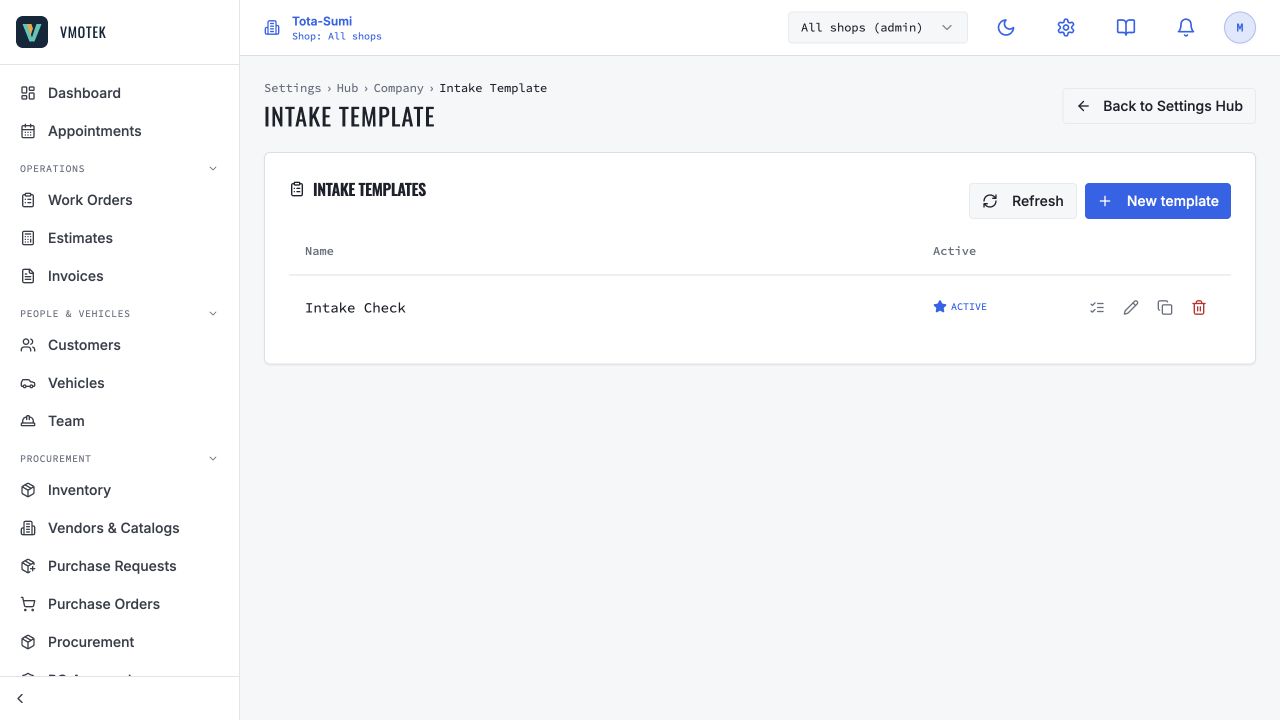
Review Collision damage intake under Settings → Intake Template. It captures the customer's incident description, odometer, drivability, warning lights or leaks, primary damaged area and arrival photographs. Add insurer, claim, tow, storage or authorization references only when the shop uses them consistently. Require photos that establish arrival condition, but avoid collecting unrelated personal information. The advisor records observations and customer statements; a qualified estimator or technician records findings.
03
3. Adapt the damage assessment
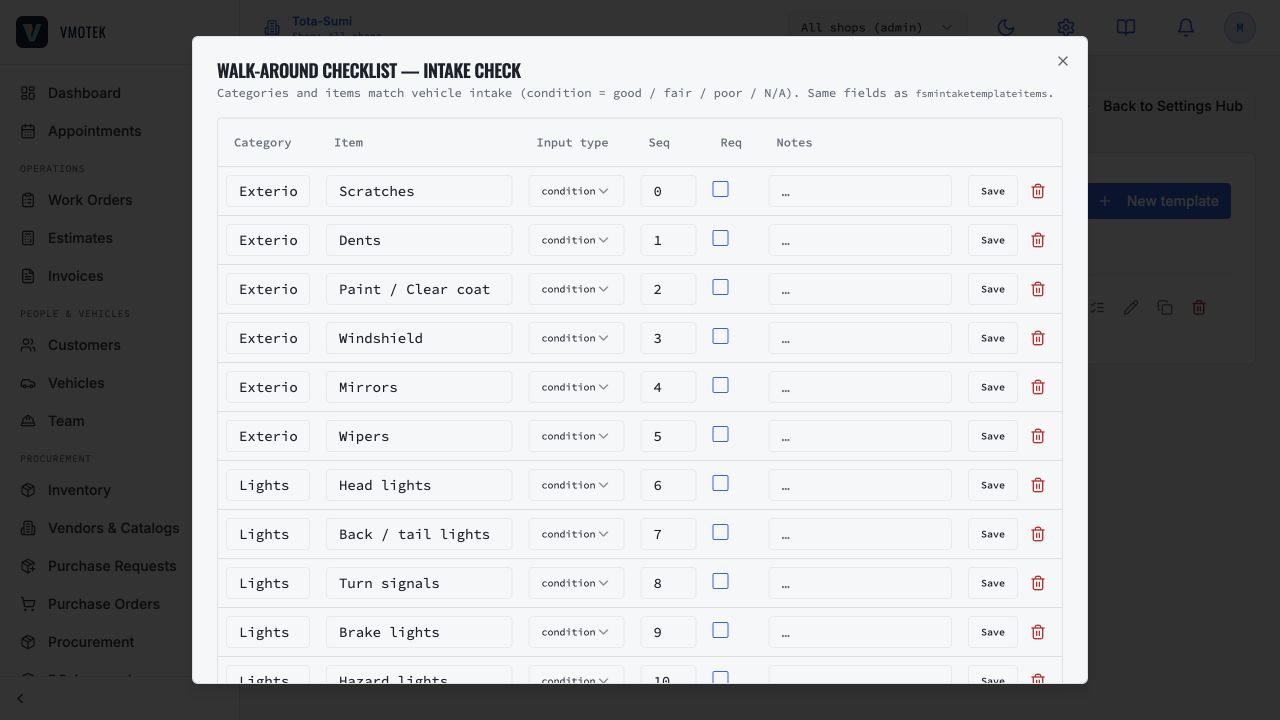
The draft inspection separates visible exterior damage, structural indicators, restraints and warning systems, ADAS considerations, and mechanical concerns. Replace generic checks with the shop's reviewed inspection points and escalation rules. A condition marker is not an OEM repair instruction or measurement tolerance. Link supporting photos and notes, identify when scanning, measuring or calibration evaluation is required, and preserve the evidence used to revise the estimate.
04
4. Complete teardown and reassembly packages
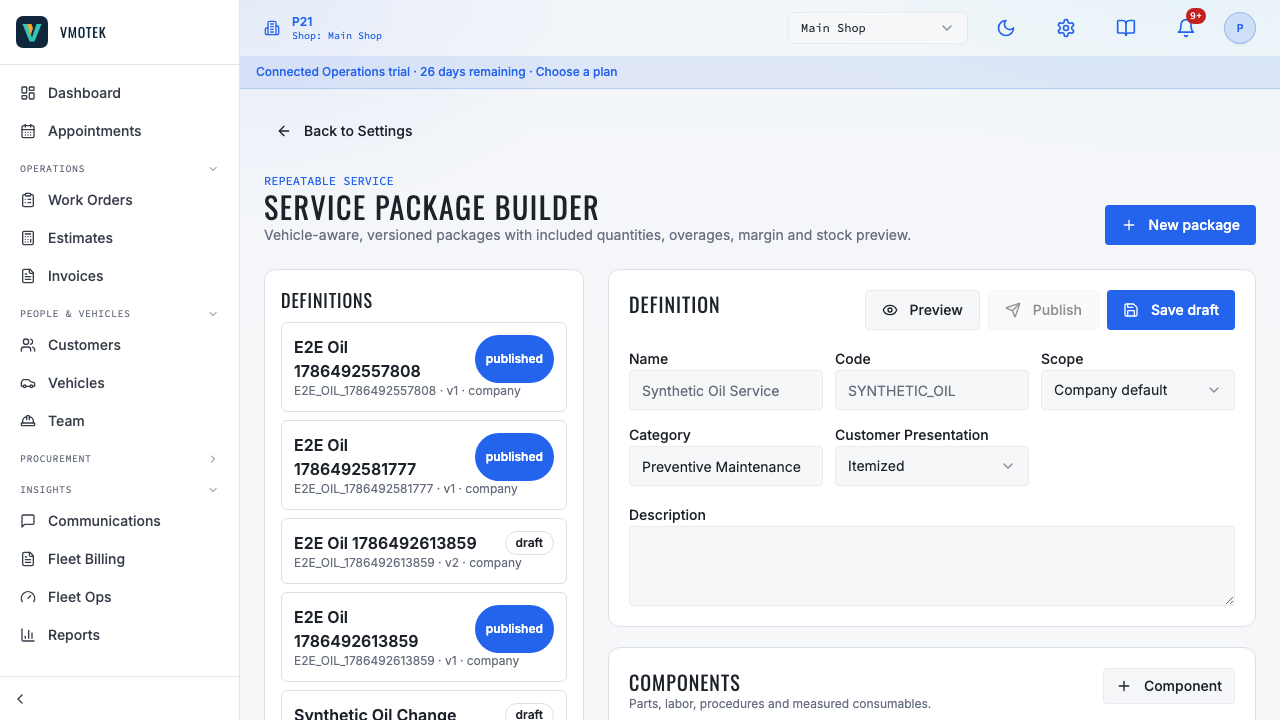
Enter approved labor time and customer presentation for controlled teardown. Define how removed components are labeled, protected and stored, how hidden damage is photographed and how a supplement is authorized. In the reassembly and quality-control draft, define fit, finish, warning-indicator, functional and road-test checks that the shop is qualified to perform. Publish a package only after responsibility, time, price and checklist wording are reviewed. Do not use a package to replace the vehicle-specific repair plan.
05
5. Configure real resources and validate
Create only real work areas and set truthful capacity. Assign role and shop access to estimators, body technicians, painters and detail staff as applicable. Run a test vehicle from mobile intake through photos, estimate, approval, teardown findings, revised authorization, work stages, quality control and invoice. Verify the original evidence remains attached, added scope requires approval, parts and purchasing belong to the correct shop, and the final document does not claim unsupported certification or procedure compliance.
Related product areas
Understand the capability behind the task
Continue to the applicable platform page for workflow behavior, role differences and connected operating consequences.
Ready to move forward?
Need help with your configuration?
Existing customers should use in-product support for account-aware assistance. Evaluation teams can contact us to discuss requirements.