Quick-lube setup
Configure the Quick Lube operating template
The Quick Lube template prepares a short intake, courtesy inspection, Standard oil change and Full synthetic oil change as drafts. It recommends a quick-lube lane but does not create equipment or capacity. The design supports speed while preserving vehicle-specific quantity, inventory, price and checklist evidence.
Written by the VMOTEK Product Team · Updated August 14, 2026
01
1. Apply the draft template deliberately
Choose Oil change / quick lube for the intended location. Review the artifact list before selecting Create missing drafts; during initial onboarding, the equivalent action is Create drafts & continue. Confirm that existing definitions are kept, not overwritten, and that the quick-lube lane remains a recommendation. In a mixed general-repair shop, inspect duplicate or overlapping oil packages before publishing either version.
- Select the shop in the header.
- After registration, select Settings → Setup & Readiness → Operating templates; during onboarding, use Choose how each shop operates.
- Choose Oil change / quick lube → Preview → Create missing drafts. In onboarding, the equivalent action is Create drafts & continue.
- Open each Needs local value item from Setup & Readiness and leave incomplete services unpublished.
02
2. Make intake fast but meaningful
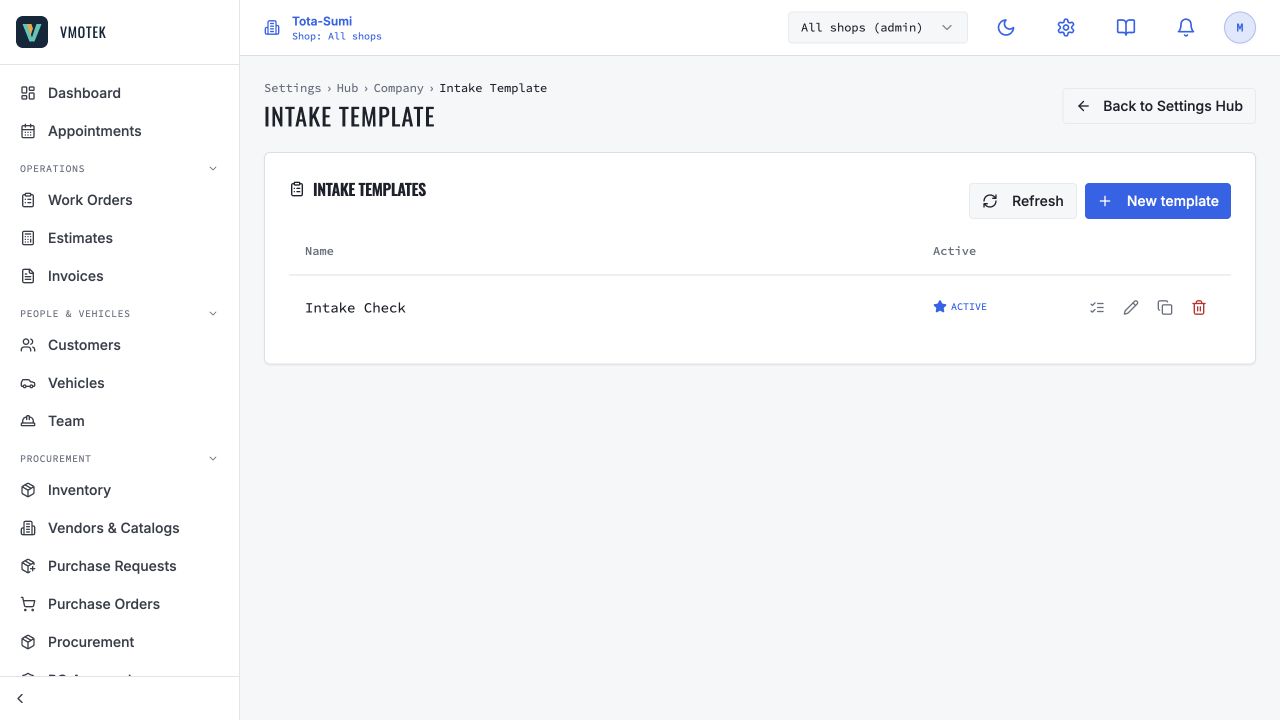
Review Quick-lube vehicle intake in Settings. It begins with odometer, oil viscosity/specification, oil-life percentage and warning lights. Require odometer and the specification only when advisors can obtain them reliably. Add customer concern, visible leak evidence or photo capture if those are part of the documented check-in process. Avoid asking for fields that staff will guess merely to move to the next screen.
03
3. Define the courtesy inspection boundary
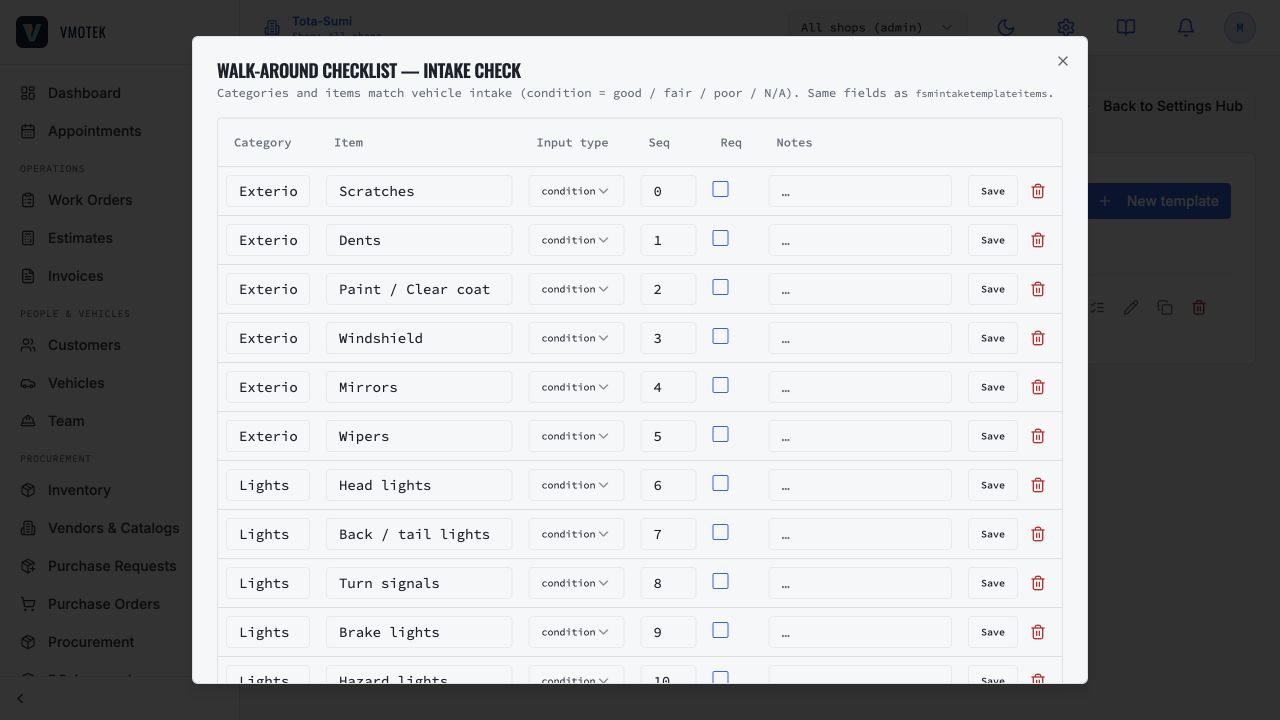
The courtesy inspection drafts fluid condition, filters, tire pressure/visible condition and visible leaks. Decide what the team can inspect consistently within the promised cycle time. Specify whether a finding is informational, needs attention or unsafe, and train staff not to turn a glance into an unsupported diagnosis. If the inspection leads to additional work, create or revise the estimate and obtain approval rather than silently adding scope.
04
4. Link oil, filter, quantity and overage
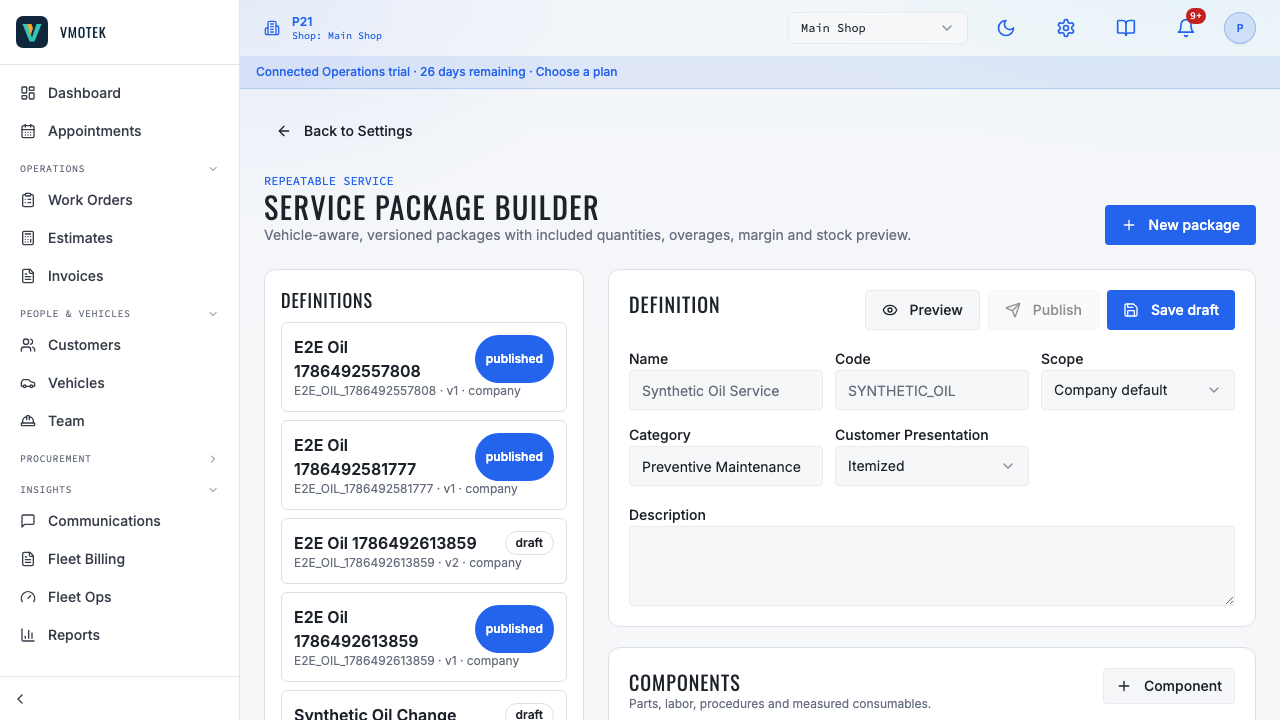
Open both oil-service packages. Link standard and synthetic oil components to the correct inventory items and link the filter component to a vehicle-correct item. Enter labor time, base quantity, included quantity and billing increment. Use vehicle rules only from a reliable source; otherwise require advisor confirmation. For example, a five-quart package with a seven-quart confirmed requirement should show the two-quart overage before application. Preview cost, selling price, margin and available stock.
05
5. Configure the lane and customer promise
Create only real service lanes and set hours, duration and capacity under Appointment & Capacity. Configure labor and parts pricing, fees, taxes and document wording. Decide whether the business accepts walk-ins, appointments or both and whether the public booking page should offer the oil-service duration. Do not advertise a completion time that capacity controls cannot support.
06
6. Test speed and accounting together
Run a representative vehicle from intake through invoice. Confirm the correct oil and filter are selected, required quantity is visible, overage is explainable, inventory is consumed at the performing shop and the technician sees the oil-life reset and level-verification tasks. Test a vehicle outside the saved applicability and a quantity requiring overage. Then verify the invoice, payment, inventory activity and service history agree. Fast entry is successful only when it does not weaken the audit trail.
Related product areas
Understand the capability behind the task
Continue to the applicable platform page for workflow behavior, role differences and connected operating consequences.
Ready to move forward?
Need help with your configuration?
Existing customers should use in-product support for account-aware assistance. Evaluation teams can contact us to discuss requirements.