Brake-shop setup
Configure the Brake Shop operating template
The Brake Shop template separates customer symptoms, technician measurements and sold repair work. It prepares a brake concern intake, axle-aware measurement inspection, front brake service and rear brake service as drafts, plus a brake-bay recommendation. It does not choose vehicle-correct components or authorize repair automatically.
Written by the VMOTEK Product Team · Updated August 14, 2026
01
1. Preview the records and shop scope
Select Brake Shop for the intended location and review all proposed artifacts. Apply creates drafts and records provenance. It preserves an existing definition with the same natural identity and does not certify that definition as ready. Confirm the brake-bay recommendation against actual lifts, tools and technician qualifications before creating a bay or capacity rule.
- Select the intended shop in the header.
- After registration, select Settings → Setup & Readiness → Operating templates; during onboarding, use Choose how each shop operates.
- Choose Brake Shop → Preview and verify the proposed intake, inspection and front/rear service drafts.
- Select Create missing drafts (or Create drafts & continue during onboarding), then open every incomplete draft from Setup & Readiness.
02
2. Separate customer concern from technician finding
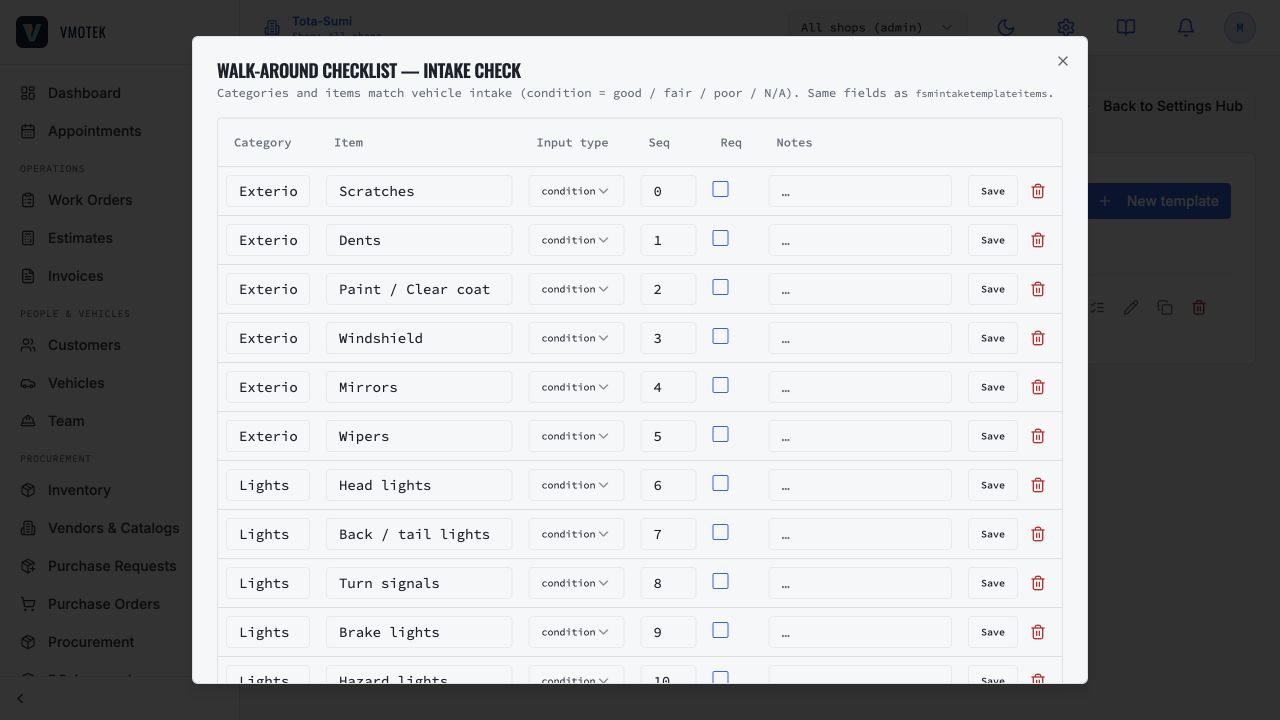
The Brake concern intake records the customer's description, noise or vibration, pedal feel and warning-light observation. Advisors should capture the customer's words and operating conditions without converting them into a diagnosis. The Brake measurement inspection is technician evidence: front and rear friction thickness, rotor or drum measurements and hydraulic condition. Add units, acceptable ranges and required photo evidence according to shop procedure and equipment.
03
3. Complete front and rear service packages
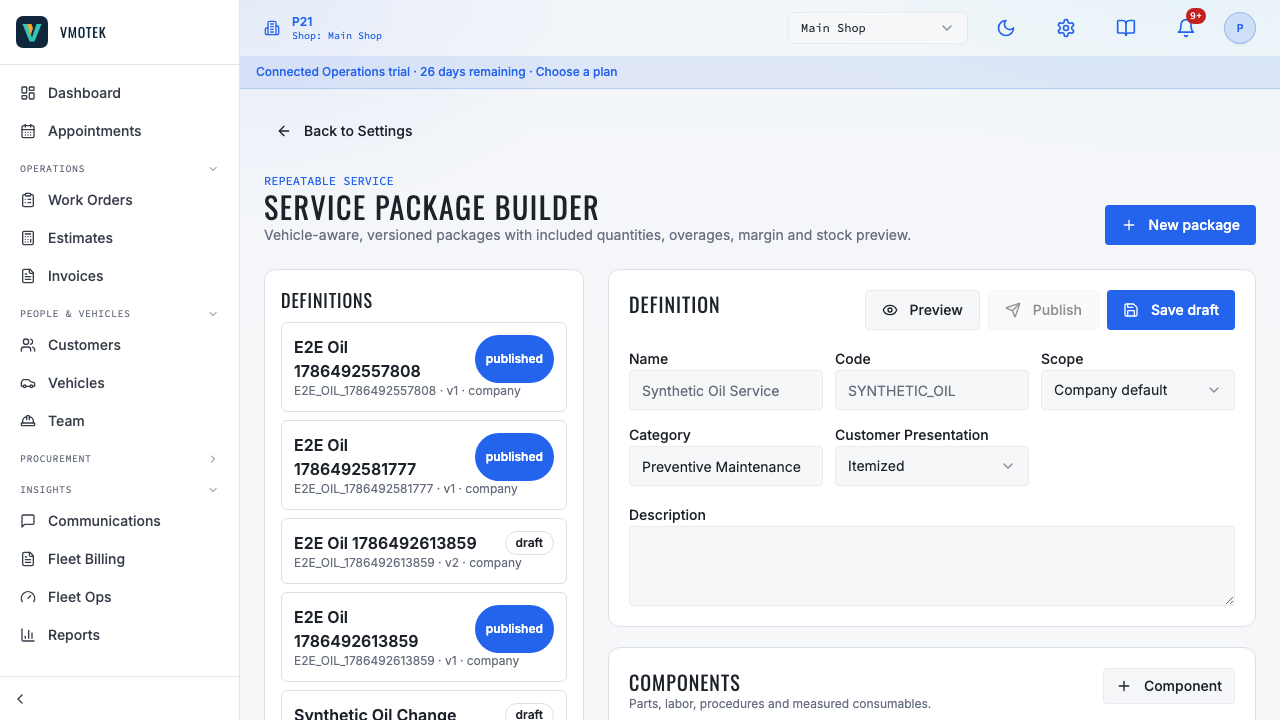
Open Service Packages and review Front brake service and Rear brake service separately. Link the placeholder component to vehicle-correct inventory only after the vehicle is known. Enter labor time, checklist steps and approved pricing. Front and rear work can differ in component type, time and measurement, so do not merge them merely to shorten the advisor list. Use applicability rules to prevent a package from presenting as compatible when the shop has not verified fit.
04
4. Preserve approval when findings change scope
A brake inspection may reveal calipers, hoses, fluid service, machining or other work not present in the initial estimate. Add the new labor and parts to a revised estimate or controlled work-order authorization, explain the evidence and wait for customer approval. The package is a repeatable starting point, not permission to perform everything commonly associated with a brake job.
05
5. Configure pricing, stock and responsibility
Configure labor-rate classes and parts pricing before publishing the packages. Verify purchase cost, default selling price and any matrix result for representative pads, rotors and hardware. Assign qualified technicians and real bays, configure dispatch and ensure advisors can see whether work is unassigned, ready or in repair. If parts are unavailable, use the connected purchase-order workflow and receive them into the performing shop before consumption.
06
6. Run a controlled validation job
Create a test customer and vehicle with a brake concern. Complete intake, record measurements, attach evidence, create an estimate and apply the appropriate package. Add a discovered item, obtain revised approval, assign the technician, complete checklist work and produce the invoice. Confirm the sold parts reduce stock at the correct location and that customer, vehicle, inspection, approval, work order and invoice remain linked. Repeat with a vehicle that should not match the package and verify the advisor is warned rather than given false confidence.
Related product areas
Understand the capability behind the task
Continue to the applicable platform page for workflow behavior, role differences and connected operating consequences.
Ready to move forward?
Need help with your configuration?
Existing customers should use in-product support for account-aware assistance. Evaluation teams can contact us to discuss requirements.