General repair setup
Configure the General Repair operating template
The General Repair template prepares a practical starting structure for a mechanical repair shop. It creates drafts only: a vehicle intake, general inspection, oil-change package and brake-inspection package. It also recommends a repair bay without inventing physical capacity. The owner remains responsible for labor rates, parts, quantities, taxes, customer wording and publication.
Written by the VMOTEK Product Team · Updated August 14, 2026
01
1. Preview and apply to the correct shop
Select General repair shop for the intended location and review the preview. General vehicle intake, General vehicle inspection, Oil change and Brake inspection should be marked as drafts. Repair bay is a recommendation. Select Create missing drafts only after confirming the shop; during initial onboarding, the equivalent action is Create drafts & continue. For multiple locations, review every shop assignment independently; a company-wide customer or item definition does not make service configuration location-neutral.
- Sign in as an Owner or Admin and select the intended shop in the top header.
- After registration, select Settings → Setup & Readiness → Operating templates. During initial onboarding, use Choose how each shop operates.
- Choose General repair shop, select Preview and read every Created, Kept and Needs local value result.
- Select Create missing drafts (or Create drafts & continue during onboarding); return to Setup & Readiness and open each incomplete item before publishing anything.
02
2. Review intake and inspection evidence
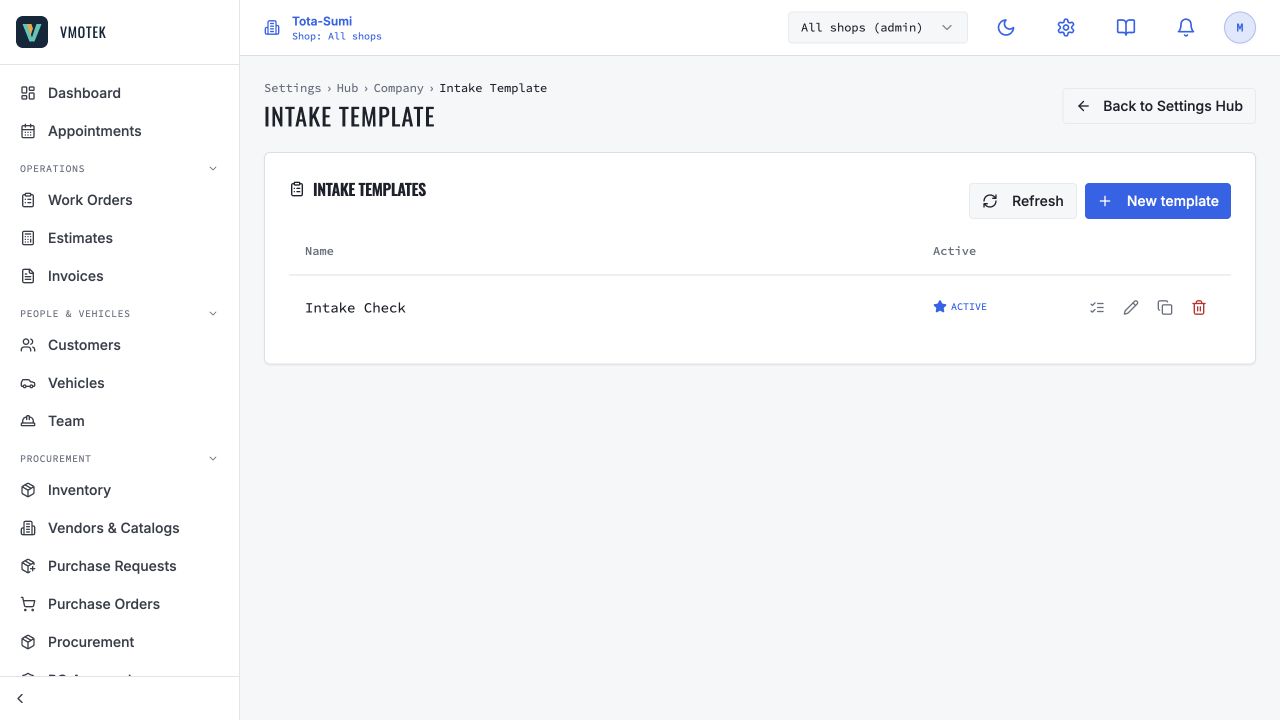
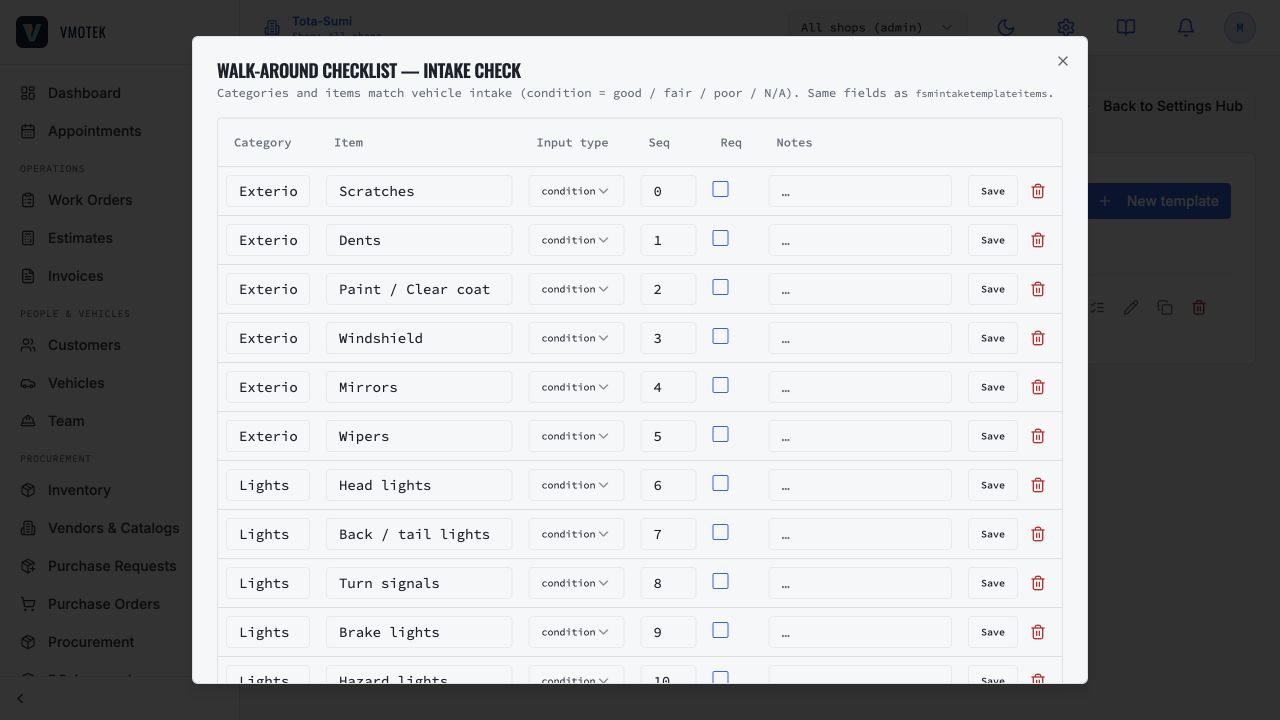
Open Settings → Intake Template. Review odometer, primary concern, fuel level and visible damage. Decide which fields the advisor must complete, use wording that customers and technicians understand and add photo evidence where the shop needs arrival-condition proof. Then review General vehicle inspection. Its warning-light, fluid, brake and tire checks are a baseline, not a universal diagnostic standard. Add or remove inspection points to match technician qualifications, services and documented shop procedure before publication.
03
3. Complete the oil-change package
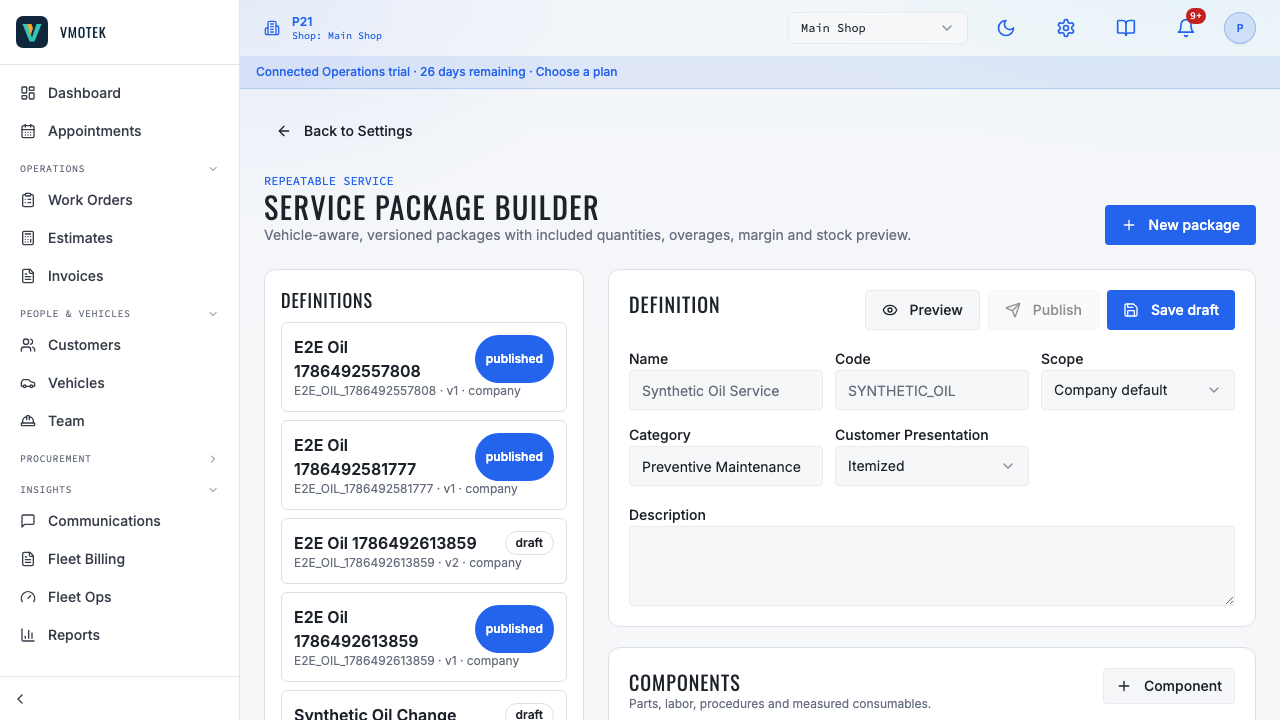
Open Settings → Service Packages and select the Oil change draft. Link the engine-oil component to the correct company inventory item or a controlled family of items, link the oil filter to the vehicle-correct item and enter approved labor time. In Advanced mode, add vehicle applicability and required quantity only when the shop has a reliable source. Configure included quantity and overage when the advertised service includes a fixed amount. Preview normal, high-capacity and nonmatching vehicles before publishing.
04
4. Complete brake inspection without overselling it
The Brake inspection package starts with labor and a checklist task to measure and record brake condition. Enter the shop's approved inspection time and customer price. Replace the single task with a reviewed diagnostic template if technicians need axle-level measurements. Do not add replacement parts to an inspection-only package or imply that inspection automatically authorizes repair. Findings should support a revised estimate and customer approval before additional work begins.
05
5. Configure real people, bays and commercial rules
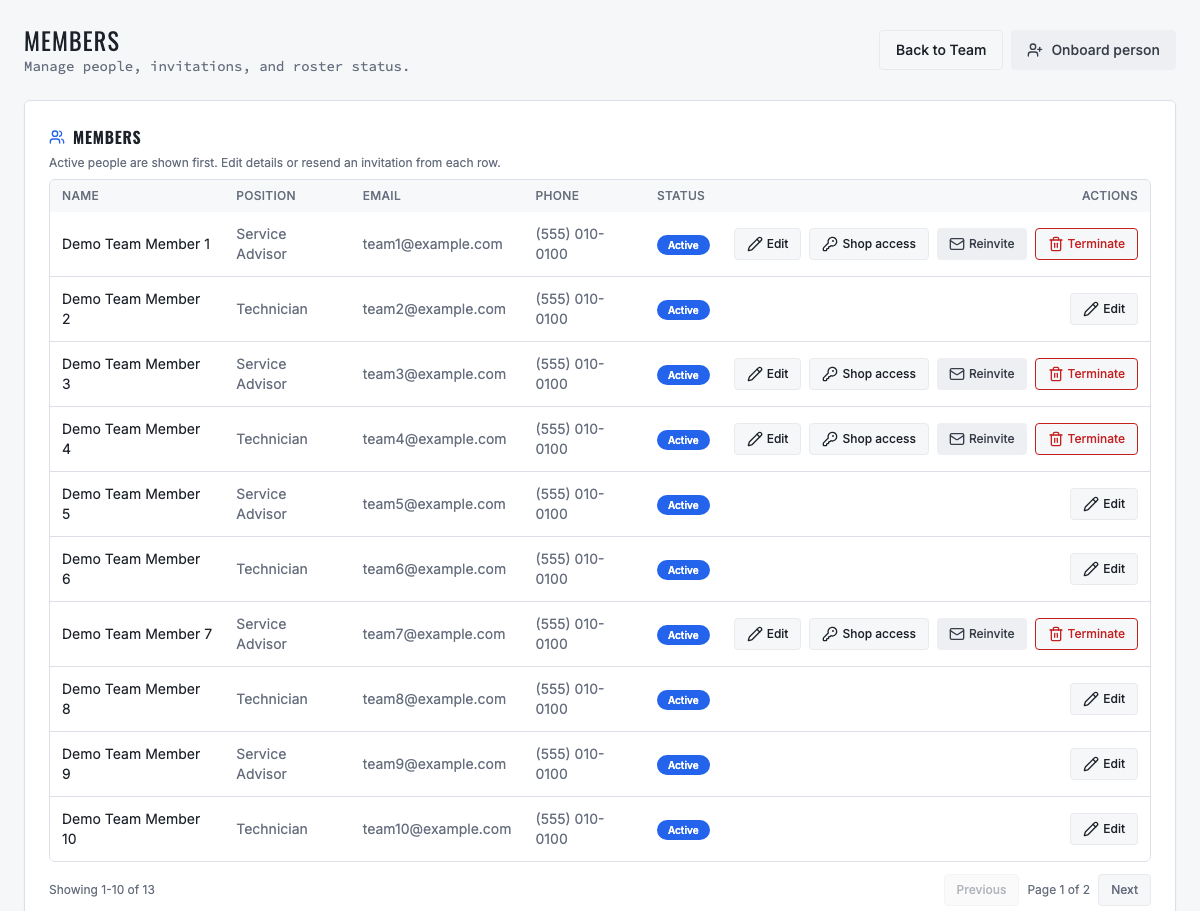
Create only the repair bays that physically exist and set the dispatch mode the location actually uses. Add advisors and technicians as individual users, assign roles and limit shop access. Configure labor rates, parts pricing, sales tax, fees, discounts and customer-document wording. Connect Gmail, SMS or Stripe only when the shop intends to use those channels and has completed provider setup. Return to Setup & Readiness and resolve required evidence rather than treating the template as completion.

06
6. Validate one complete repair
Use a test customer and vehicle. Create an appointment or walk-in intake, record the concern and condition, create an estimate, apply the reviewed package, obtain approval, create the work order, assign a technician and bay, consume the correct parts, complete the repair, invoice and record payment. Reopen the customer, vehicle, inventory activity and reports to confirm the same shop and durable records are connected. Correct the configuration before live rollout when any step requires re-entry or an unexplained override.
Related product areas
Understand the capability behind the task
Continue to the applicable platform page for workflow behavior, role differences and connected operating consequences.
Ready to move forward?
Need help with your configuration?
Existing customers should use in-product support for account-aware assistance. Evaluation teams can contact us to discuss requirements.